AI Ticket Maker
Generate professional event tickets, raffle stubs, concert passes, and admission cards with AI. Describe the event, style, and layout — Pixazo composes the full ticket design including text placement, stub sections, and seating details in a single generation.
Part of the AI Image Generator
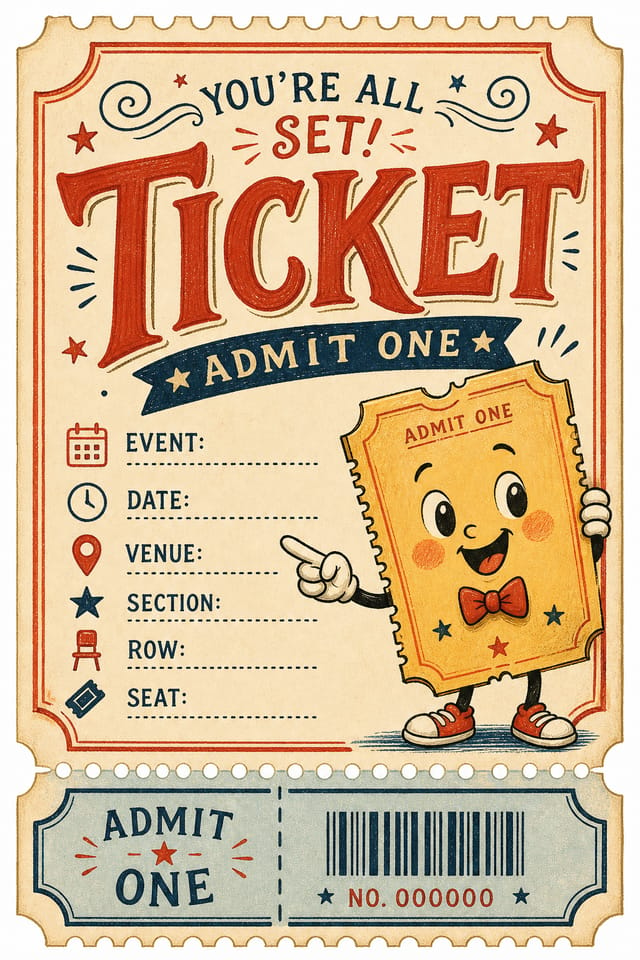
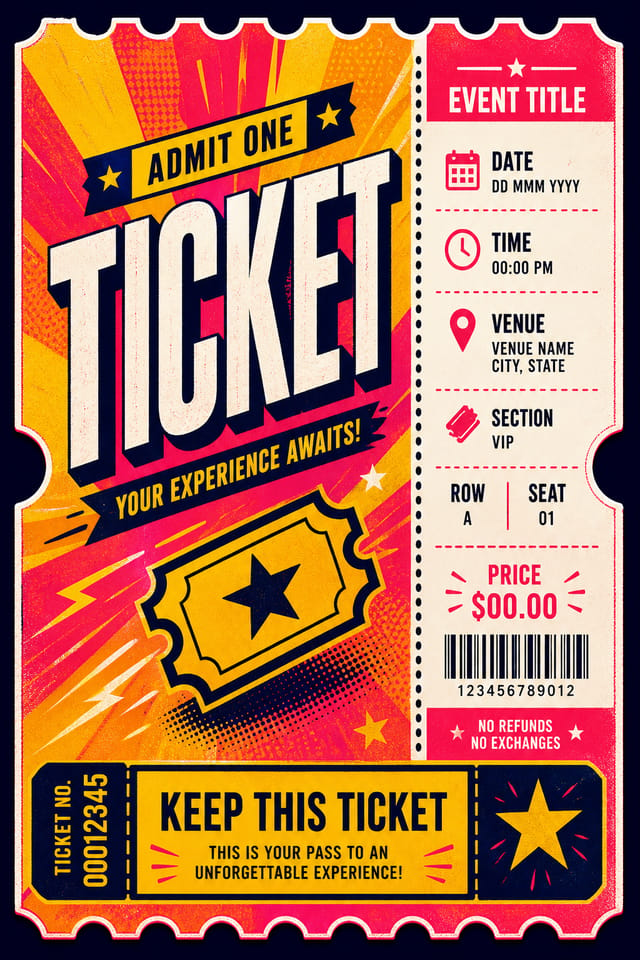
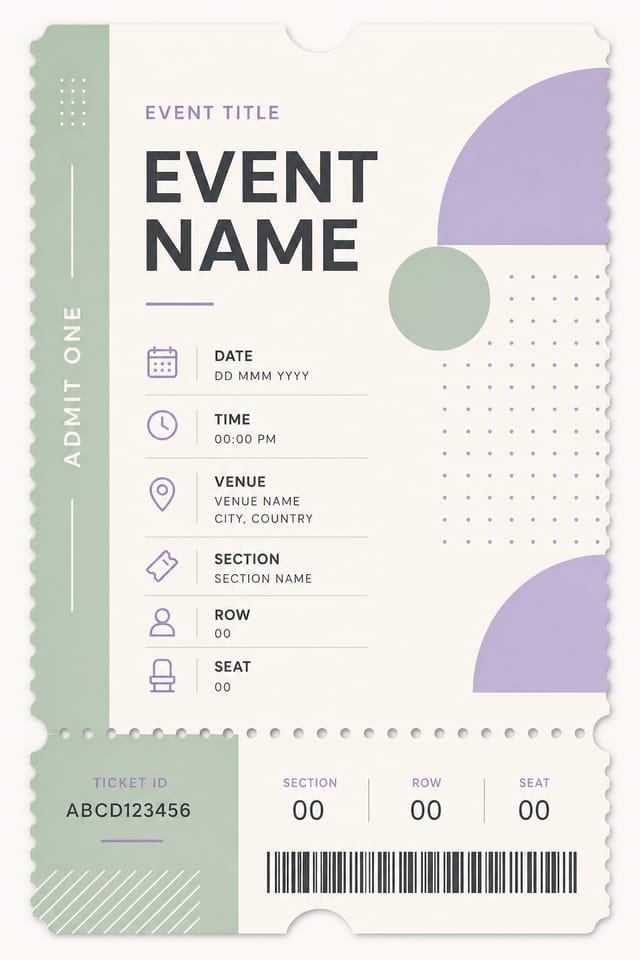
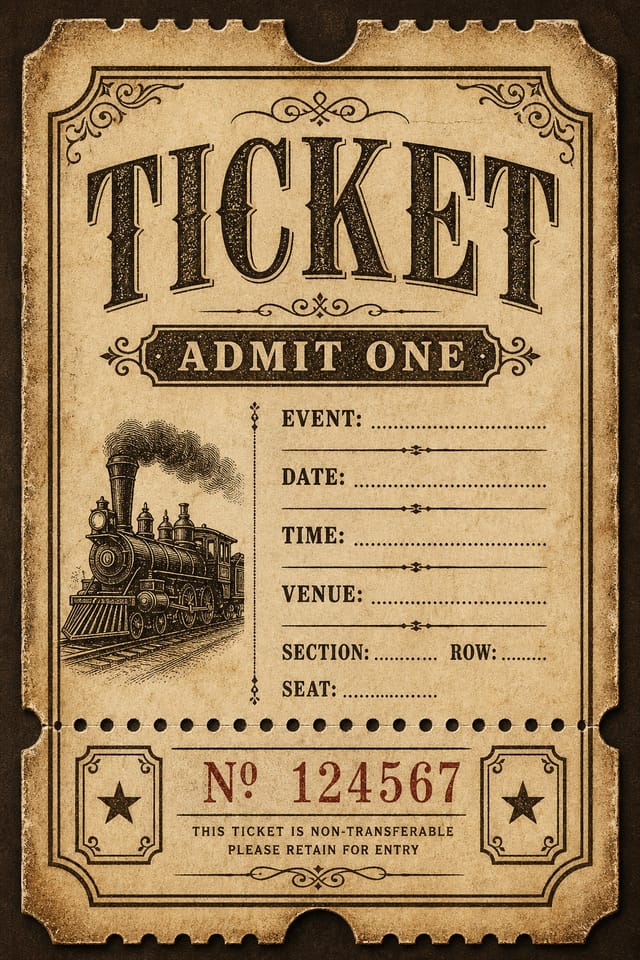
Sample Creations

What You Can Create With the AI Ticket Maker
The generator handles more than generic admission passes. Here are six distinct ticket formats the AI composes from text descriptions alone.
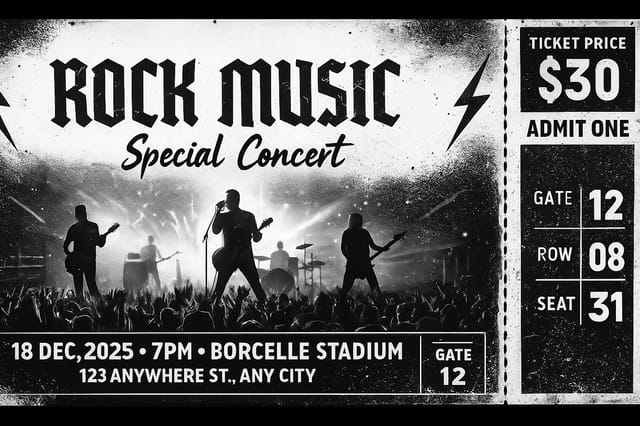
Concert & Music Event Tickets
Full-bleed stage photography backgrounds, grunge or modern typography, detachable stubs with gate, row, and seat numbers. Supports both arena-scale festivals and intimate venue gigs. The AI places pricing, sponsor logos, and event dates in industry-standard ticket zones.
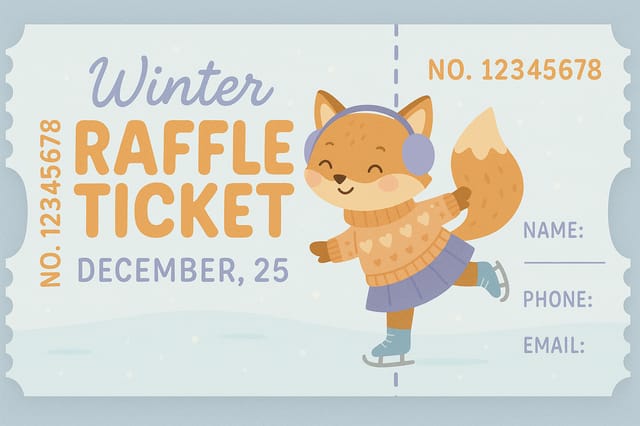
Raffle & Lottery Tickets
Numbered stubs with perforated-line visual indicators, fill-in fields for name, phone, and email, and themed illustrations for seasonal raffles. The AI generates matching ticket numbers on both the main body and the detachable counterfoil — though number accuracy should be verified before printing.
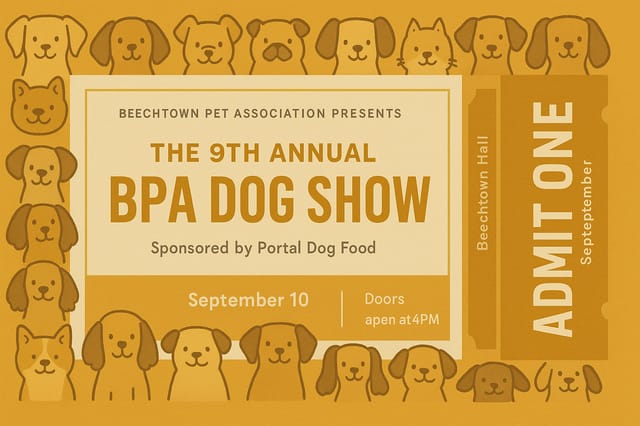
Show & Exhibition Tickets
Pet shows, art exhibitions, trade fairs, and auto shows. The AI renders themed borders (doodle dogs for a pet show, geometric frames for an art gallery), sponsor attribution, venue details, and "ADMIT ONE" stub sections. Supports both horizontal and vertical ticket orientations.
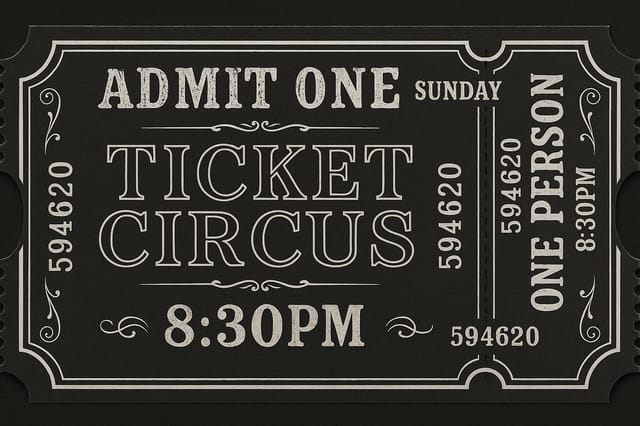
Vintage & Retro Tickets
Dark charcoal backgrounds with ornate white borders, serif typography, decorative flourishes, and scalloped edges. Designed for circus events, film screenings, theatre performances, and themed parties that demand an antique aesthetic. Numbers and time stamps render in period-appropriate typefaces.
Sports & Stadium Tickets
Team-colour backgrounds, field or court imagery, barcode placeholders, and structured seating grids with gate, section, row, and seat fields. Works for football, basketball, baseball, and track events. The AI handles both general admission and assigned-seat layouts.
Transport & Boarding Passes
Flight boarding pass layouts, shuttle tickets, and ferry passes with departure/arrival fields, passenger name zones, and barcode strips. The AI mimics real airline ticket structures — though QR codes and barcodes are visual placeholders only and cannot encode functional data.
What the AI Ticket Maker Cannot Do
Knowing these boundaries before you start saves revision time. Every limitation below is addressable with a simple post-editing step.
Functional QR Codes and Barcodes
The AI renders visual representations of QR codes and barcodes — they look correct but do not encode real data. For scannable tickets, generate the artwork first, then overlay a real QR code from a barcode generator in your editing tool.
Sequential Numbering Across Batches
Each ticket generates independently. If you need 500 raffle tickets numbered 001–500, the AI cannot auto-increment across generations. You will get one ticket per prompt — use mail-merge software to stamp sequential numbers onto the exported template.
Exact Text Accuracy on Long Strings
Short text like "ADMIT ONE" or "ROCK MUSIC FEST" renders reliably. Longer strings — full addresses, sponsor names with special characters, or multi-line event descriptions — may contain letter swaps or spacing errors. Always proofread AI-generated text before sending to print.
Die-Cut Shapes and Perforation Lines
The AI draws visual perforations (dashed lines, stub separators) but the output is a flat image — no vector die-cut path is embedded. For physical tear-away stubs, add a cut line in Illustrator or InDesign and communicate the bleed margin to your printer.
CMYK Colour Mode
Exports are RGB PNGs. Professional print shops often require CMYK colour profiles. Convert the file in Photoshop, Affinity Photo, or a free tool like GIMP before submitting to an offset printer. Colours may shift slightly during conversion — always request a proof.
Multi-Ticket Sheet Layouts
The AI generates one ticket per image. If you need eight tickets per A4 sheet for gang-printing, use the single AI output as a master and tile it in a page-layout application. Set 3mm bleed and ensure crop marks are included for the printer.
Summary: Pixazo generates the visual design — the artwork, layout, and typographic composition. Functional elements (scannable codes, sequential numbers, die-cut paths) are added in post-production. Treat the AI output as your creative starting point, not your print-ready final file.
Controls That Shape Your Ticket Design
Everything you describe in your prompt becomes a control lever. Here are the primary parameters the AI interprets when composing ticket layouts.
Ticket Orientation and Proportions
Specify "horizontal concert ticket" or "vertical admission pass" in your prompt. The AI adjusts the layout composition accordingly — horizontal tickets place the stub on the right; vertical tickets place it at the bottom. Standard output is 1536 x 1024 px, but the visual composition adapts to the described format.
Visual Style and Era
Use keywords like "grunge," "vintage," "minimalist," "paper-cut," or "neon" to set the aesthetic. The AI shifts typography, border treatments, and colour palettes to match. Combining era references ("1920s circus ticket" vs "2025 tech conference badge") produces distinctly different outputs from the same structural prompt.
Text Content and Placement
Name the event title, date, time, venue, price, and seat information directly in your prompt. The AI arranges these in conventional ticket zones: title top-centre, date bottom-left, price on the stub. If you specify "GATE 12, ROW 08, SEAT 31," the AI places those in a structured grid on the detachable section.
Colour Palette and Background
Describe specific colours ("black and white," "pastel blue," "mustard yellow and off-white") or mood references ("dark and moody," "bright and festive"). For photographic backgrounds, describe the scene: "black and white electric guitar close-up" produces a dramatically different result from "snowy ice-skating rink." The AI fills the entire ticket area with the described visual.
Stub and Tear-Off Section
Mention "detachable stub" or "tear-off section" to add a separated portion to your ticket. The AI draws a visual perforation line and places condensed information (ticket number, price, admit count) on the stub. You control whether the stub appears on the right side, bottom, or left by describing its position in the prompt.
Tickets Made by Pixazo Users
Real ticket designs from real users. Each card shows the prompt used, the generated result, and the context behind why they chose this approach.
"We run a local dog show every September and I usually cobble together a ticket in Word. The doodle dog faces around the border were exactly the friendly, approachable look we wanted — attendees asked where we got them designed."
"I promote local rock shows and needed a ticket that felt like the music — raw, high-contrast, no-nonsense. The grunge texture and stage silhouette captured that energy. I overlaid a real barcode and printed 800 copies on card stock."
"Our community theatre runs a circus-themed fundraiser each year. The vintage look with the ornate borders and old-fashioned serif type was exactly the atmosphere we wanted — guests said the tickets felt like collectible keepsakes rather than something to discard."
Who Needs an AI Ticket Maker
Ticket design is a chore that gets delegated to whoever has time. These are the people who get the most value from describing a ticket and letting AI handle the layout.
How to Create a Ticket With Pixazo
Four steps from blank prompt to printed ticket. The AI handles the creative layout — you handle the functional finishing touches.
Describe the Event
Name the event type (concert, raffle, show), the visual style (grunge, vintage, minimalist), the colour palette, and any text that should appear on the ticket — title, date, venue, price, and seat information.
Generate Variations
Run the prompt two or three times. Each generation interprets the layout differently — one version may centre the title, another may left-align it. Compare compositions and select the strongest design.
Verify and Edit Text
Check all rendered text for spelling accuracy. Short phrases render well; longer venue addresses or sponsor names may need correction. Overlay corrected text and add a real barcode or QR code in your editor.
Export and Print
Download the PNG at 1536 × 1024 px. For standard ticket dimensions (216 × 79 mm), the resolution yields approximately 180 DPI — suitable for single-ticket printing. For bulk runs, tile the design in a page-layout application and add crop marks.
Export Formats and Print Specifications
What you get when you hit download, and how it translates to physical tickets at various sizes.
| Specification | Value | Notes |
|---|---|---|
| File Format | PNG (lossless) | No JPEG compression artifacts — text edges remain sharp for printing |
| Resolution | 1536 × 1024 px | Landscape orientation; the AI adapts visual composition for horizontal or vertical ticket descriptions |
| Standard Ticket (216 × 79 mm) | ~180 DPI | Acceptable for single-ticket printing at arm's-length; for premium stock, consider upscaling to 300 DPI |
| Event Badge (102 × 152 mm) | ~256 DPI | Sharp for lanyard badges; no upscaling needed for standard conference badge holders |
| Raffle Stub (178 × 51 mm) | ~219 DPI | Sufficient for text-heavy raffle tickets; crop the AI output to stub proportions in your editor |
| Colour Mode | RGB | Convert to CMYK in Photoshop, Affinity, or GIMP before submitting to offset printers |
| Transparency | None | Opaque background — suitable for direct placement on coloured card stock or white paper |
Design Your Event Ticket Now
Describe the event, style, and layout — Pixazo generates a print-ready ticket design. No templates, no drag-and-drop.
Open the PlaygroundAI Ticket Maker FAQs
Can the AI generate functional QR codes on tickets?
No. The AI renders visual QR code patterns that look realistic but do not encode any data. For scannable tickets, generate the design first, then overlay a functional QR code from a dedicated barcode generator (QR Code Generator, ZXing, or your ticketing platform's built-in tool) onto the exported PNG.
What ticket dimensions does Pixazo support?
All tickets export at 1536 × 1024 pixels in PNG format. The AI composes the visual layout based on your prompt description — horizontal concert tickets, vertical admission passes, square badges. You crop or resize to your target dimensions after export. For standard event tickets (216 × 79 mm), the resolution is approximately 180 DPI.
How do I create numbered raffle tickets?
Generate one raffle ticket design with a placeholder number (like "NO. 12345678"). Export the PNG, then use mail-merge software (Microsoft Publisher, Canva's bulk create, or a print-shop tool) to stamp sequential numbers across your print run. The AI cannot auto-increment numbers across separate generations.
Can I generate tickets with detachable stubs?
Yes. Include "detachable stub," "tear-off section," or "perforated stub" in your prompt. The AI draws a visual perforation line and places condensed information on the stub section. The stub is a visual design element — for physical tearing, coordinate the perforation cut line with your print shop separately.
Are generated tickets free for commercial use?
Yes. Tickets generated through Pixazo are yours to use commercially — for paid events, corporate functions, and resale. No watermark appears on exported files. If the AI generates artwork that closely resembles a copyrighted logo or character, you are responsible for verifying that your use complies with applicable intellectual property laws.
How do I match my organisation's brand colours?
Describe your brand colours by name or hex code in the prompt: "navy blue #1B365D background with gold #FFD700 accents." The AI interprets colour descriptions and produces close approximations. For precise Pantone matching, generate the design with approximate colours, then adjust the exact hue in your image editor before printing.
Can I create multiple ticket tiers with different designs?
Yes. Run separate prompts for each tier — "VIP gold ticket with premium border" and "General Admission standard white ticket." The AI generates each as an independent design. To maintain visual consistency across tiers, keep the same style descriptors and vary only the colour and tier label in each prompt.
Your Ticket Design Starts With a Description
Concert, raffle, show, or boarding pass — type the event and the AI composes the full ticket layout, stub included.
Start Creating Tickets
