How to Lip-Sync a Video to Any Audio with AI: A Step-by-Step Tutorial


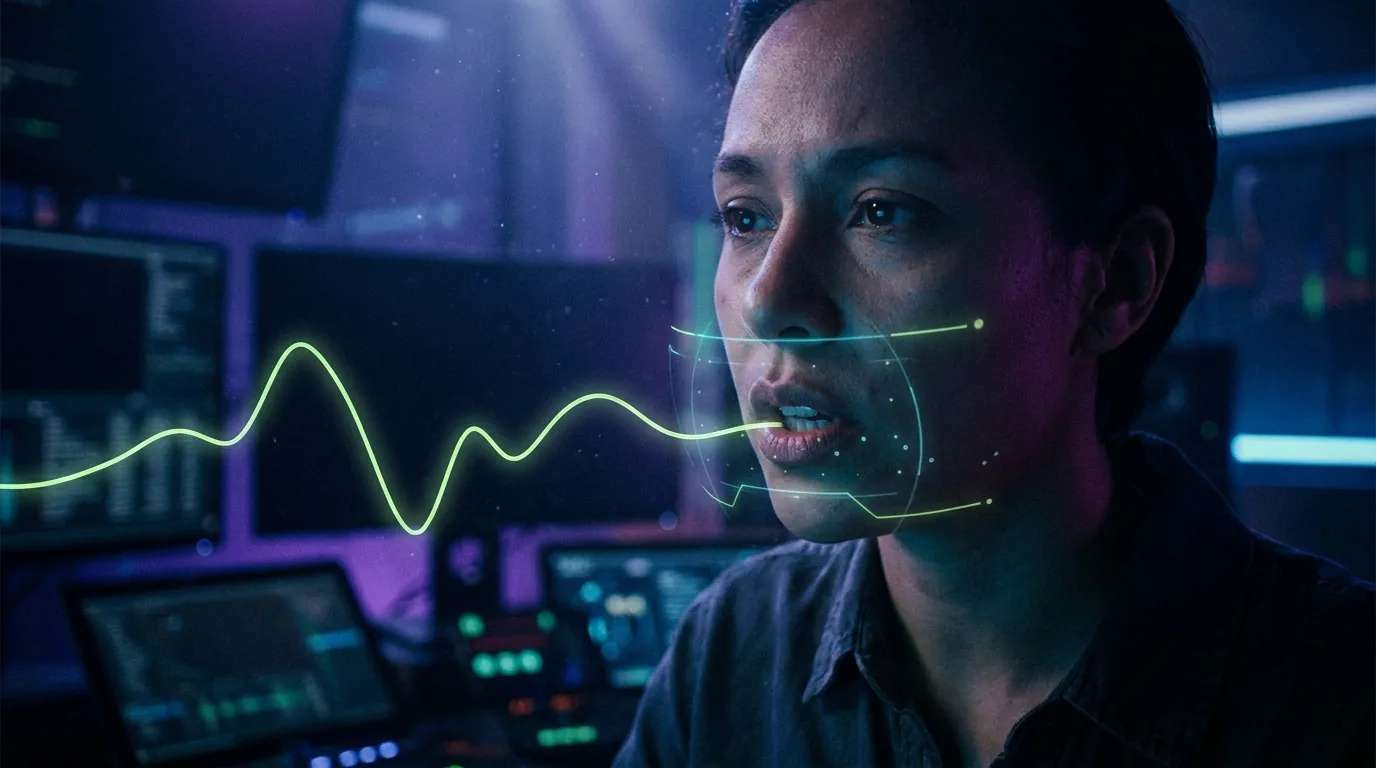
AI lip-sync re-times the mouth of a talking-head video so it matches a completely different voice or song, while everything else in the shot stays exactly as filmed. It is how you dub a voiceover onto a clip in another language, fix a flubbed line without reshooting, or make a presenter appear to sing a track. What used to need a VFX artist and a lip-sync plug-in now takes one sentence. This tutorial walks through doing it in Pixazo’s AI VFX Studio, where an assistant called Agent P handles the heavy lifting, start to finish, in four short steps. Audio to Video API is available if you want to try it.
The approach is different from most editing tools you may have used. There is no timeline, no set of sliders, and nothing to render manually. You describe the result you want in ordinary language and reference your files with simple handles, and the studio carries out the job and hands back a finished clip. If you can write a sentence, you can lip-sync a video, so this guide is friendly whether you are a marketer, a creator, or someone who has never opened video software.
Prefer to watch first? The short clip below runs through the entire process end to end, and the written steps that follow break down each part so you can do it yourself.
Watch the full lip-sync workflow in the AI VFX Studio, from uploading a clip and audio to a finished, natural-looking take.
When you would use AI lip-sync
Re-timing a mouth to new audio sounds niche until you list what it unlocks. A few of the most common jobs:
- Dubbing and localization. Take one talking-head video and release it in several languages by swapping the audio, without the actors ever returning to set.
- Fixing a line without a reshoot. Recorded a great take with one wrong word or an awkward phrasing? Generate or record the corrected line and re-sync only that section.
- Music and creative videos. Make a presenter, an avatar, or a generated character mouth the lyrics of a song for a music video, a lyric clip, or a fun social post.
- Social video at scale. Reuse one filmed clip across dozens of scripts for ads, UGC-style spots, or short-form content, changing only the voiceover each time.
- Faceless and avatar channels. Give a generated presenter a consistent look and simply feed it fresh narration for each new video.
In every one of these, the win is the same: you keep the footage you already have and change only what is being said, which is far faster and cheaper than filming again. Pixazo’s AI Lip Sync Video Generator is built for exactly these jobs.
What you will need
Only two things, and the studio can even make the second one for you:
- A talking-head video clip where the face is clearly visible and roughly front-facing. This is the footage whose mouth you want to re-time.
- An audio track to sync to: a voiceover you recorded, a voice the studio generates from a script, or a full song if you want the character to sing.
Both are uploaded straight into the chat, so there is nothing to install and no timeline to edit by hand.
How to lip-sync a video, step by step
Open the AI VFX Studio and, in the box that says Describe what you want to create, drop in your two files. The studio names them as you upload: the video becomes a handle like @Video1 and the audio becomes @Audio1. Those handles are how you point the agent at your files in the next step, so you never have to fiddle with file paths.
Tell Agent P what to do in a single sentence, referencing your two handles. That is the whole instruction:
Not sure of the wording? Open the command palette and pick Lip-sync a video to audio, which drops a ready-made version of this command in for you. The palette also lists every other thing the studio can do, so you can see your options at a glance.
Send the command and the agent takes over: it detects the face, tracks the mouth, and re-times the lip movements to your audio. When it finishes it replies Done. The lip-synced clip is ready, and explains what it did: the mouth movements are now timed to your audio track while everything else from the original footage is kept intact. No manual keyframing, no lip-sync software.
Play the result right in the studio to check the timing. When you are happy, hit Download to save the lip-synced clip, or use Open original to compare it against your source footage side by side. That is the full round trip: raw clip in, a natural-looking dubbed or sung take out.
Suggested Read: How To Unblur a Video: Tips, Tools, And Tricks
Why the result looks natural
The reason this holds up on camera is that the agent only touches the mouth. Head movement, expression, lighting, background and body all come straight from your original clip, so there is no uncanny full-face swap or plastic re-render. It is re-timing what is already there to a new soundtrack, which is exactly why a dubbed line or a sung verse reads as believable rather than pasted on. The closer your source clip is to a clear, front-facing talking head, the tighter that match will be.
Under the hood the agent locates the face in each frame, isolates the mouth region, and drives it from the timing and sounds in your audio, so the shapes your lips make line up with the words being spoken or sung. Because it works frame by frame against your real footage rather than rebuilding the face, the identity and everything around the mouth stay consistent for the whole clip. You do not need to understand any of that to use it, but it is why the command asks for a natural result rather than a caption or a filter: you are re-performing the existing footage to a new soundtrack.
Beyond lip-sync: what else Agent P can do
Lip-sync is one command in a much larger toolbox. Because the studio understands plain-language instructions and file handles, the same chat can chain several jobs together, for example generate a voice, then lip-sync a clip to it. A few of the things you can ask for:
Each of these works the same way as the lip-sync command: reference your uploaded or generated assets by their handle, describe the outcome you want, and let the agent produce it. Because it all happens in one conversation, you can also chain steps. Ask the studio to write and voice a script, save that as a voice handle, then lip-sync your clip to it, without ever leaving the chat or exporting files in between. That is the real advantage of a plain-language studio over a stack of single-purpose tools: the output of one instruction becomes the input to the next.
Suggested Read: Best Lipsync APIs in 2026
Tips for a clean lip-sync
- Start with a clear talking head. A well-lit, mostly front-facing face with the mouth visible gives the agent the most to work with.
- Use clean audio. A crisp voiceover or a well-mixed song syncs more precisely than muffled or noisy audio.
- Match the lengths roughly. If the audio is much longer or shorter than the clip, trim one so the performance lands where you want it.
- Say “so it looks completely natural.” Spelling out the goal in the command nudges the agent toward a subtle, believable result.
- Compare with the original. Use Open original to sanity-check timing before you export.
Suggested Read: Introducing VEED Fabric 1.0 API on Pixazo for Image-to-Video Lip-Synced AI Video Creation
Make your first lip-sync
Bring a talking-head clip and any voice or song, upload both, and type one line. The AI VFX Studio does the rest.
Frequently asked questions
What is AI lip-sync?
It is a technique that re-times the mouth movements in a video so they match a different audio track, such as a new voiceover or a song, while leaving the rest of the footage unchanged. It is used for dubbing, fixing lines, and making characters sing.
Suggested Read: Best AI Avatar Generators in 2026: 8 Top Picks Reviewed
Can I make someone sing a song they never recorded?
Yes. Upload the talking-head clip and the song as your audio track, then run the lip-sync command. The agent times the mouth to the lyrics so the person appears to sing the track.
Do I need editing software or a timeline?
No. Everything happens in one chat: you upload the clip and audio, type a single instruction, and download the finished clip. There is no manual keyframing or lip-sync tool to learn.
Suggested Read: Best AI Voiceover Tools for Video Creators in 2026
Does lip-sync change the rest of the video?
No. Only the mouth is re-timed. Head movement, expression, lighting and background all come from your original footage, which is what keeps the result looking natural.
Suggested Read: Pixazo Launches Wan 2.5 with Cinematic Quality and One-Prompt Audio-Video Sync
What kind of clip works best?
A clear, well-lit, roughly front-facing talking head with the mouth visible, paired with clean audio. The better the source, the tighter the sync.
What if I do not have a voiceover yet?
The studio can generate one. Describe the script and a voice, or clone a voice from a short sample, then lip-sync your clip to the generated audio, all in the same chat.
Suggested Read: AI VFX in Filmmaking: The Complete 2026 Guide
Deepak Joshi
Author · Pixazo
Deepak writes about generative AI models, APIs, and the workflows teams use to ship them. Reviewed by Abhinav Girdhar.