300 DPI Converter
Prepare any image for print at a true 300 DPI — the resolution print shops ask for — with the right pixel dimensions for your size. Perfect for posters, cards and photos. Upload, convert, download. No app, no watermark.
- Free to start
- Cancel anytime
- Print-standard 300 DPI
- Any print size
OP 01 The brief — what & who
What is the 300 DPI converter, and who is it for?
A single, focused pre-press tool: point it at any photo or artwork and it comes back set to the resolution a printer expects.
The 300 DPI converter is a free online tool that prepares an image for print at a true 300 DPI — the resolution most print shops ask for — by setting the correct pixel dimensions for your chosen physical print size.
It is for anyone taking an image off the screen and onto paper: posters, flyers, business cards, invitations, photo prints, packaging and merch artwork that need to look sharp rather than soft or blocky.
You choose the print size, and the tool prepares a print-ready file at 300 DPI with the matching pixel count. Everything runs in the browser, with nothing to install on desktop or mobile.
What it does not do: DPI cannot invent detail. Preparing a file at 300 DPI sets the right dimensions for print, but a very small, low-resolution source is still limited by what it originally captured — always start from the largest image you have.
| Input formats | JPG, PNG and common image formats |
| Output formats | Print-ready image at 300 DPI |
| Target resolution | 300 DPI (print standard) |
| Best for | Posters, cards, flyers, photo prints |
| Works in | Any — conversion is language-independent |
| Runs in | Browser (desktop & mobile) |
| Watermark | None |
| Price | Free to start · scales with your Pixazo plan |
OP 02 Proof check — hold to the loupe
Why does 300 DPI look sharper than 72 DPI?
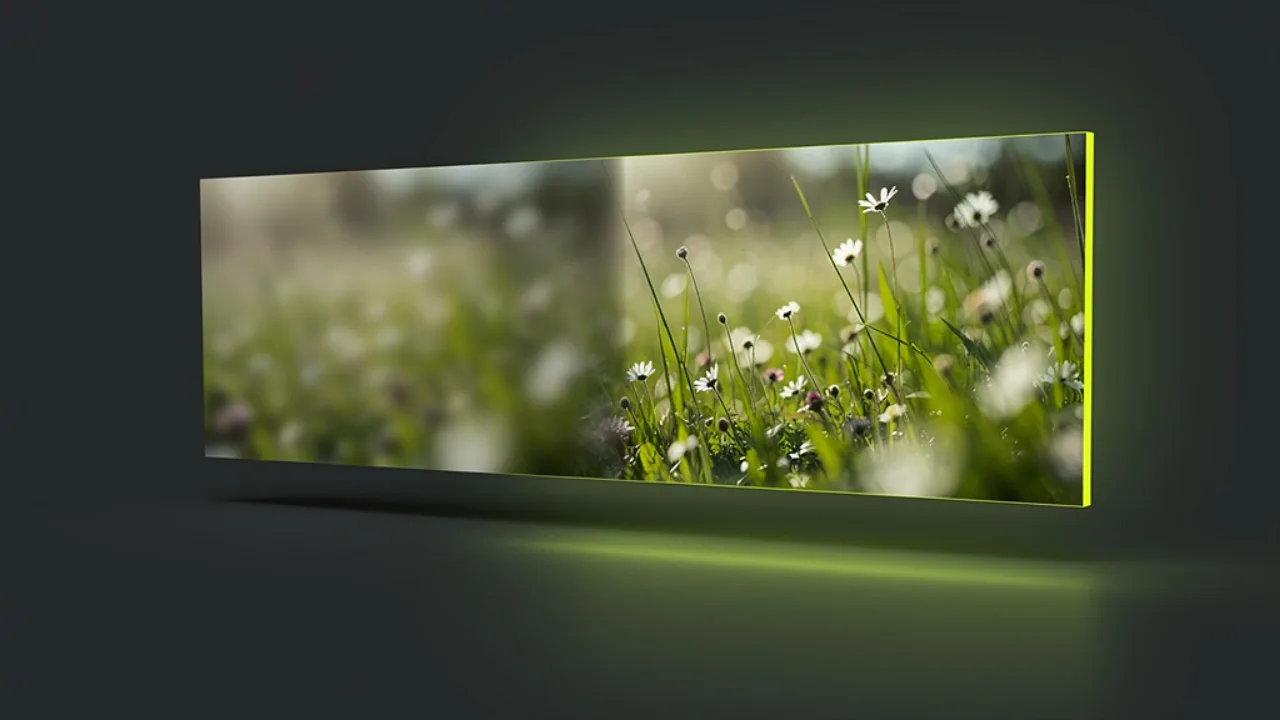
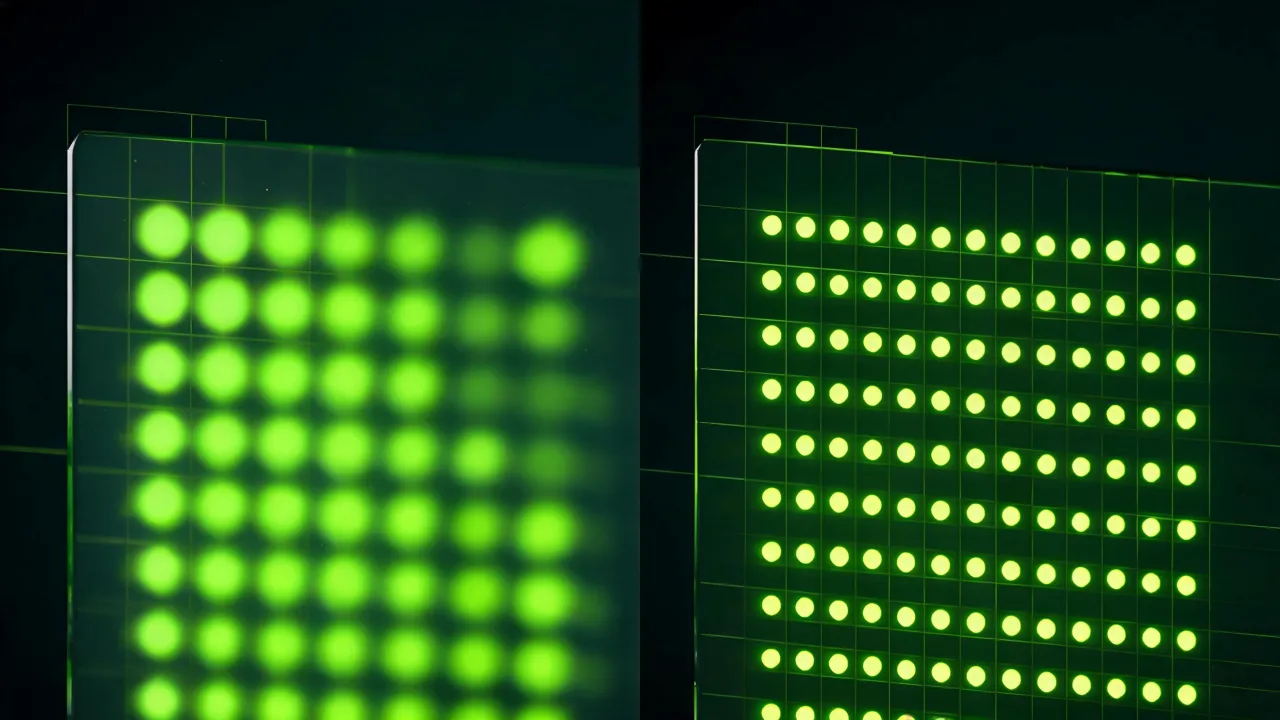
Because print quality is really pixels per inch. Pack more dots into the same inch and the individual pixels vanish; leave them coarse and the edges break up on paper. Same artwork, two densities — hold each up to the loupe.
Coarse dots — pixels stay visible, so edges look soft and blocky when printed.
Fine, dense dots — enough detail that pixels disappear and the edges stay crisp.
On screen an image looks the same at any DPI — density only matters once it leaves the screen and hits paper.
OP 03 The run sheet — four steps
How do you make an image 300 DPI?
Getting a print-ready file takes four simple steps — open the tool, upload your image, set it to 300 DPI for your print size, and download. It all runs in your browser, nothing to install.
Open the tool
Head to Pixazo's converter — it loads in your browser on desktop or mobile, no download needed.Upload your image
Drag in your photo or artwork, or pick it from your device. Start from the largest version you have.Set it to 300 DPI
Prepare the file for print at 300 DPI with the correct pixel dimensions for your chosen print size.Download your print file
Save the print-ready image and send it to your printer, template or photo lab.OP 04 On the plate — what it does
What does the 300 DPI converter do?
One focused tool that gets your image print-ready — set to the industry-standard 300 DPI with the pixel dimensions your print size actually needs.
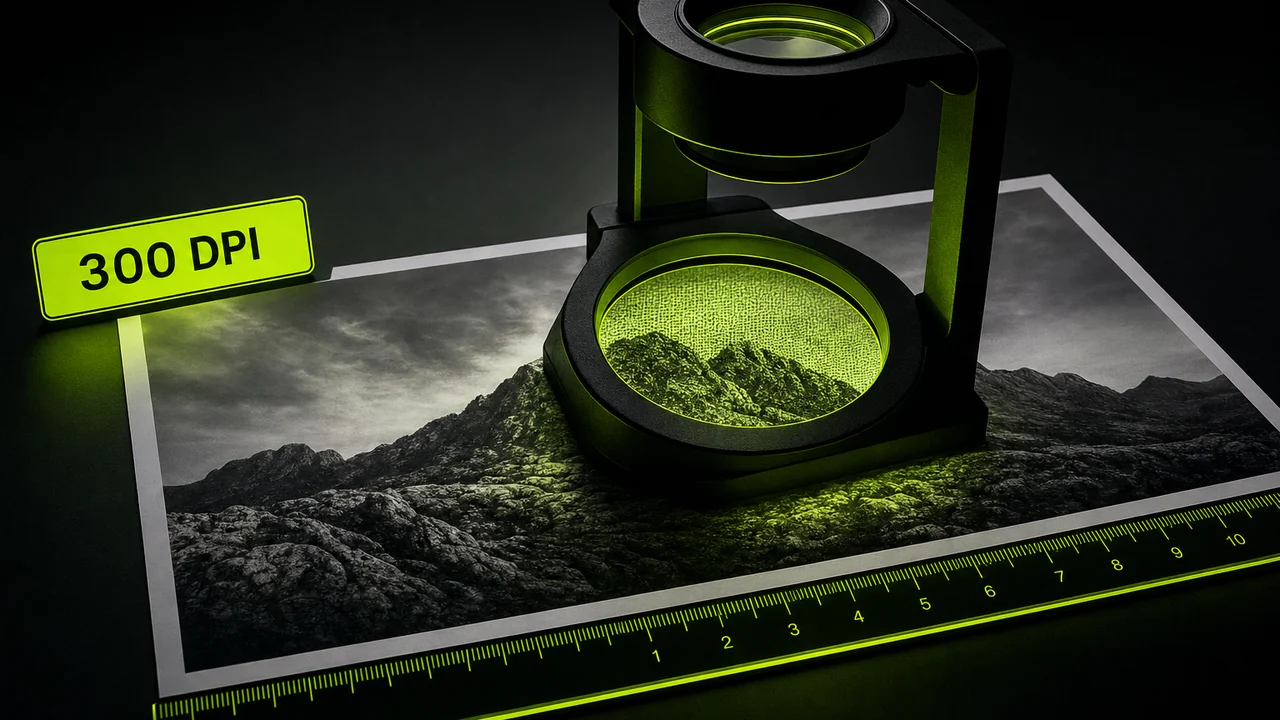 Plate 01 · 300 DPI
Print-standard
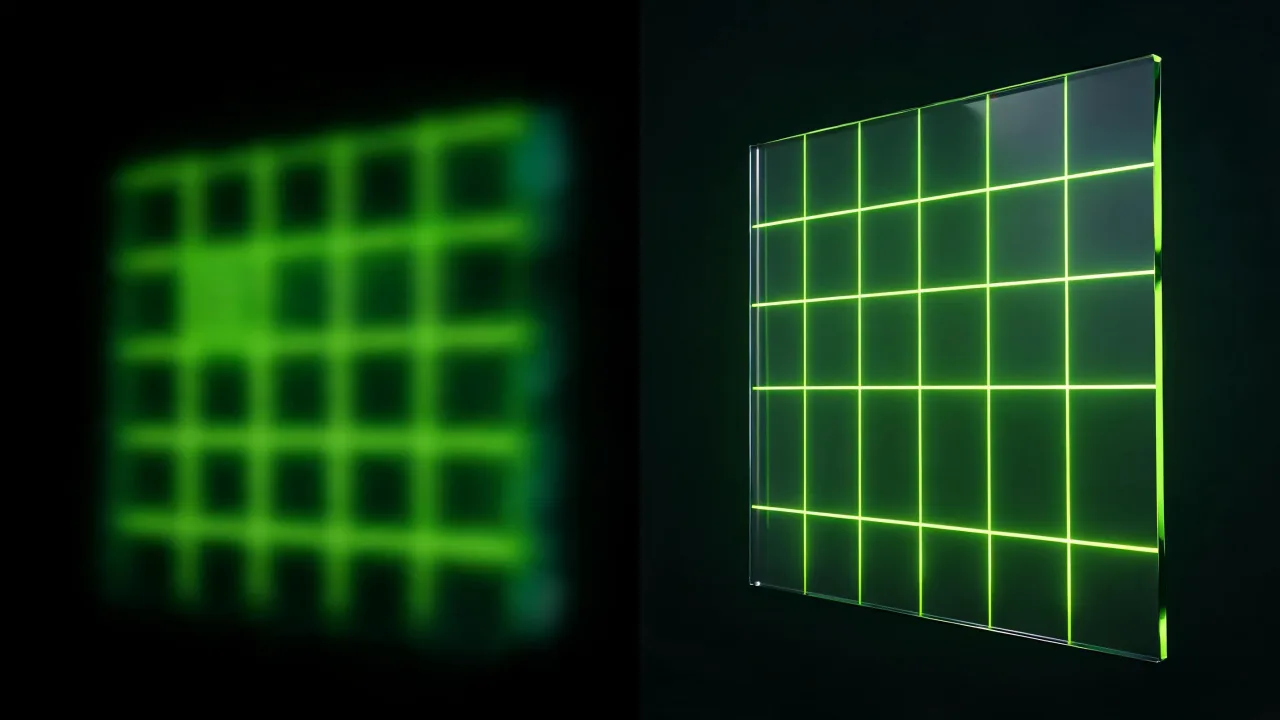
Print-standard 300 DPI, done for you
300 DPI is the resolution most print shops ask for — enough detail that individual pixels disappear on paper. The tool prepares your image to that standard so it arrives at the printer as a genuine print-ready file, not a screen-resolution one.
Make my image 300 DPI free Plate 02 · Detail
Right pixel count
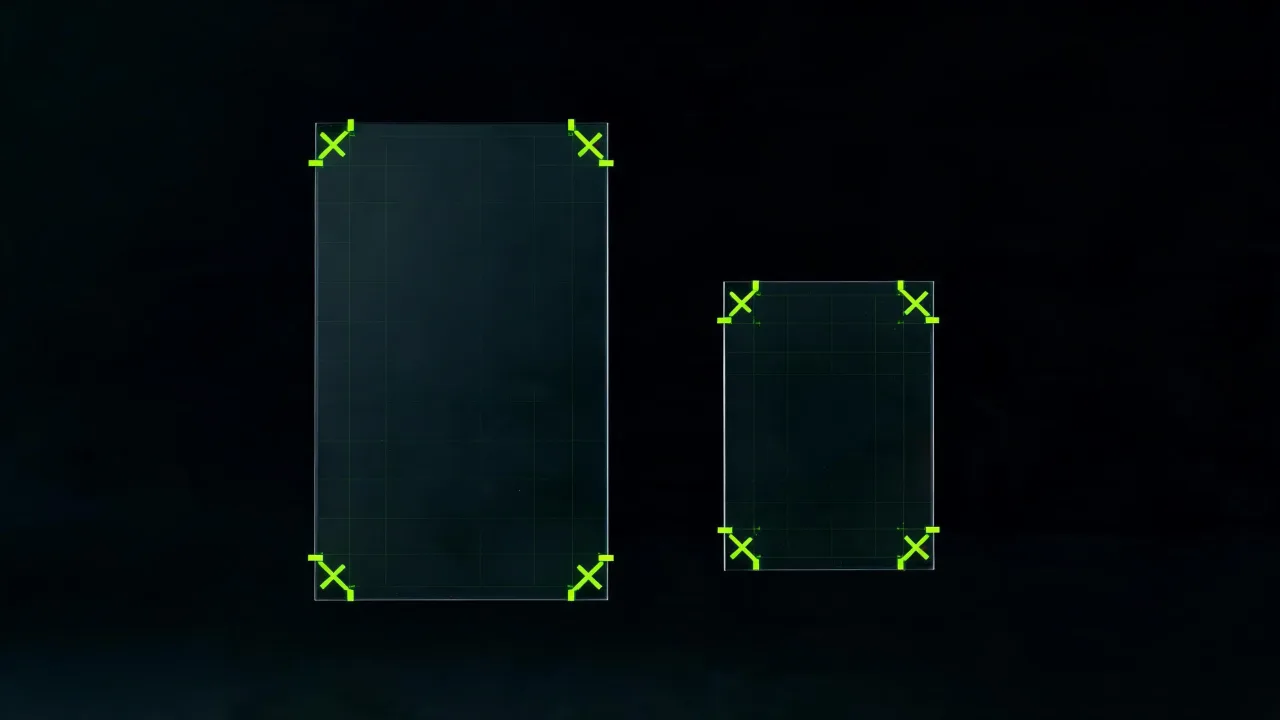
The right pixel count for your size
Print quality is really pixels per inch. Choose your physical print size and the tool sets the matching pixel dimensions at 300 DPI — so a 4×6 photo or an A4 flyer carries exactly the detail that size needs on the press.
Prepare a print file Plate 03 · Passed QC
Accepted at the counter
Files printers actually accept
Print services and templates routinely reject low-resolution uploads. A file prepared at 300 DPI meets the spec they ask for, so posters, cards and photos sail through instead of coming back for being too low-res.
Get a print-ready fileOP 05 Sizing table — the maths, done
Print size → pixels you need at 300 DPI
Print quality is about pixels per inch, not just megapixels. At the industry-standard 300 DPI, every print size needs a specific pixel count — here's the maths done for you.
| Print size | Pixels at 300 DPI | Common use |
|---|---|---|
| 2 × 2 in | 600 × 600 px | Passport / ID photo |
| 4 × 6 in | 1200 × 1800 px | Standard photo print |
| 5 × 7 in | 1500 × 2100 px | Greeting card / frame |
| 8 × 10 in | 2400 × 3000 px | Portrait print |
| A4 (8.3 × 11.7 in) | 2480 × 3508 px | Flyer / document |
| 11 × 17 in | 3300 × 5100 px | Poster / tabloid |
Why 300 DPI: it's the standard most print shops ask for — enough detail that pixels disappear at normal viewing distance.
OP 06 On the run list — where it prints
When do you need a 300 DPI image?
Any time an image leaves the screen and hits paper, print shops and templates ask for 300 DPI so the result looks sharp instead of soft.
Posters & flyers
Print-ready artwork that stays crisp at full size instead of looking soft or blocky.Business cards
Small format, high detail — 300 DPI keeps text and logos clean on the press.Photo prints
Framed and album prints that hold detail the way the lab intends.Merch & packaging
Product labels, packaging and merch artwork that meet a printer's spec.Invitations & cards
Wedding and event stationery that prints sharp on quality stock.Submitting to a printer
A print service rejected your file for low resolution — prepare it to the 300 DPI they need.
OP 07 Pre-press notes — the honest bits
Getting a genuinely print-ready file
How to prepare an image for print the right way, plus an honest note on what resolution can and can't do.
- Start from the largest image you have. The more real pixels you begin with, the better the print holds up at your chosen size.
- Match pixels to your print size. Decide the physical size first, then prepare the file to the pixel count that size needs at 300 DPI.
- Leave a little bleed for full-bleed prints. If artwork runs to the edge, most printers want a small margin beyond the trim line.
- Good to know — DPI can't invent detail. Preparing a file at 300 DPI sets the correct pixel dimensions for print; it can't add detail a small, low-resolution source never captured.
- Good to know — check your printer's spec. Most ask for 300 DPI, but confirm the exact size, colour mode and bleed your specific print job needs.
OP 08 Proof queries — before you print
300 DPI: frequently asked questions
Quick answers to the things people ask most before preparing a print file.
Is the 300 DPI converter free?
What does 300 DPI actually mean?
Will this make a tiny photo print perfectly?
What print size should I choose?
Does my printer really need 300 DPI?
Can I use it for posters and business cards?
Do I need to install anything?
Does it change how my image looks on screen?
Print-ready at 300 DPI
OP 09 Signed off by — the desk
About the author
Get a print-ready image at 300 DPI.
Prepare any photo or artwork for print at the standard 300 DPI with the right pixel dimensions for your size — free to start, no watermark.
Make my image 300 DPI free- Free to start
- No install
- No watermark

