MiniMax H3 Image Prompt Guide: How to Write Prompts That Render Exactly
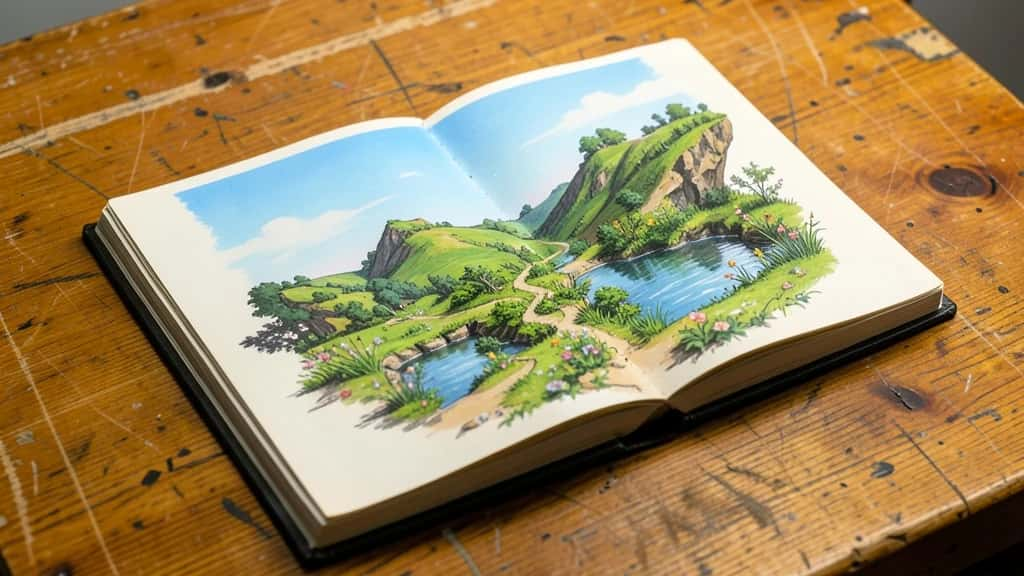
MiniMax H3 Image is a text-to-image model that turns a written description into a finished picture, and it handles the two jobs most image work needs: composing a scene from scratch, and editing or combining supplied reference images. Like every modern image model, it rewards a precise prompt and punishes a vague one. This guide follows the method in MiniMax’s official prompt-writing skill and turns it into a workflow you can reuse on any brief. You can run both modes through the MiniMax H3 Image API on Pixazo, which exposes a text-to-image and an image-edit endpoint, the exact two modes this guide covers.
One idea runs through all of it: a prompt describes what appears in the final image, not a set of instructions for another writer. The sections below walk the build order, show two worked examples, cover text rendering and reference editing, and end with a checklist you can run before you generate.
Write what appears, not instructions
The single most useful habit is to describe the finished image, not the process of making it. “Show a busy market in a lively way” is a note to a designer; “a crowded morning market with stalls of oranges and leafy greens, shoppers mid-step, soft low sunlight from the left” is an image. Decide the composition, the visible content, and the supporting details that make the scene work, then write those down as if you were describing a photo that already exists.
Treat the specifics in your brief as constraints to keep, not suggestions to improve. Named entities, counts, formulas, data, medium, direction, and spatial relationships all carry over. Keep meaningful qualifiers and exclusions, and keep a named product or system distinct from its generic category. When you refine an existing prompt, change only the part you were asked to change and leave the rest intact.
Develop the brief into concrete content
A short idea is enough to start. Your job is to grow it into a complete scene or a designed artifact by filling in the ordinary details a reader would expect, and to add detail for a reason rather than for bulk.
Choose a visual focus and build around it
Pick the one thing the image is about, then add only what supports it: readable interaction, convincing material, depth, light, or a clear information hierarchy. A concrete choice beats a generic quality claim. “8k, masterpiece, highly detailed” describes nothing you can see, while “wet clay catching the light in fine ridges” does.
Keep the requested medium and level of restraint
If the brief asks for a flat vector logo, do not wrap it in scenery. If it asks for abstract art, do not force it toward a photograph. Match the medium you were given, and respect negative space instead of filling every corner.
How do you set the composition?
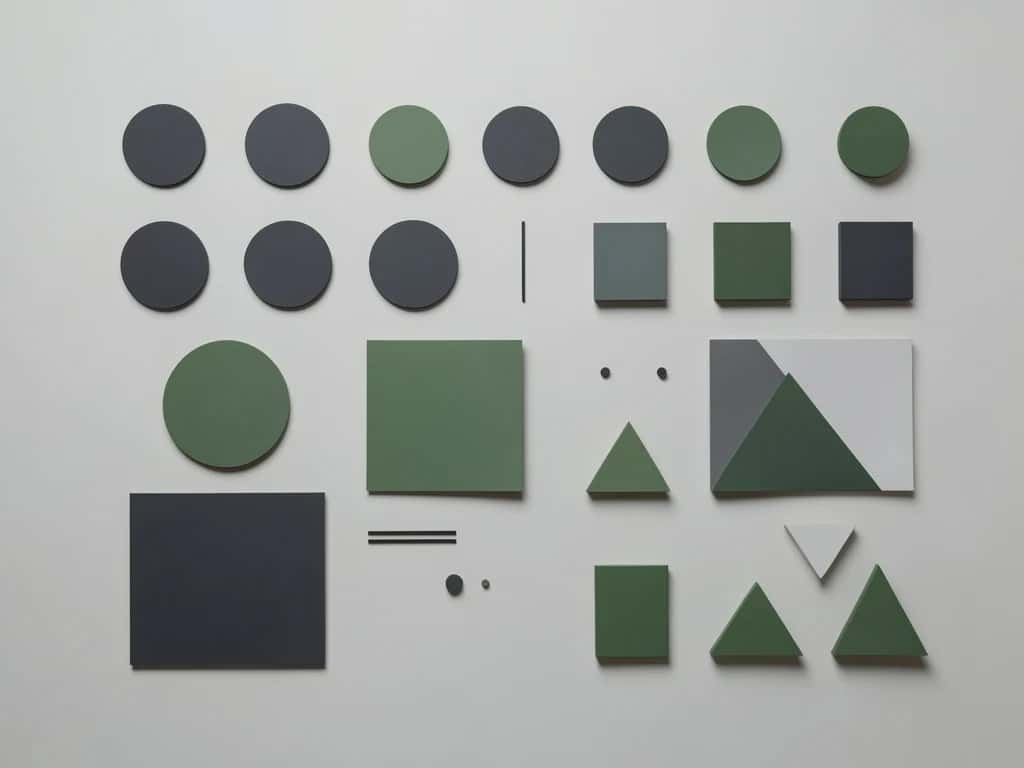
Composition is where many prompts quietly go wrong, because a style word does not fix a canvas. “Cinematic” is a look, not an aspect ratio. Decide the shape from the deliverable and the main content instead.
- ▸Honor explicit geometry: If the brief gives dimensions, orientation, a panel layout, or a reading order, keep them exactly. State grid rows and columns in words, since their counts do not set the canvas ratio.
- ▸Choose framing from the content: A single compact subject can stay compact. A side-by-side comparison needs horizontal room. Stacked information needs vertical room. Establish the main composition first, then add scenery only if it serves the scene.
- ▸Separate the whole image from a part: A phone screen, a poster inside a photo, or one panel of a grid is not the dimensions of the entire canvas. Say which one you mean.
How do you make a scene physically readable?
For anything with bodies, hands, or contact, the prompt has to keep the physics consistent, or the result looks subtly wrong. Describe the subject’s visible state or action, the viewpoint, the setting, and the light that matters, and freeze a single moment unless you asked for a sequence.
Keep the scene’s geometry stable across the whole description. Screen left and right, foreground and background, gaze direction, body orientation, visible surfaces, hands, and points of contact all have to agree with each other. Frame the interaction you want directly, rather than flipping the layout or moving its destination to make a pose easier to draw.
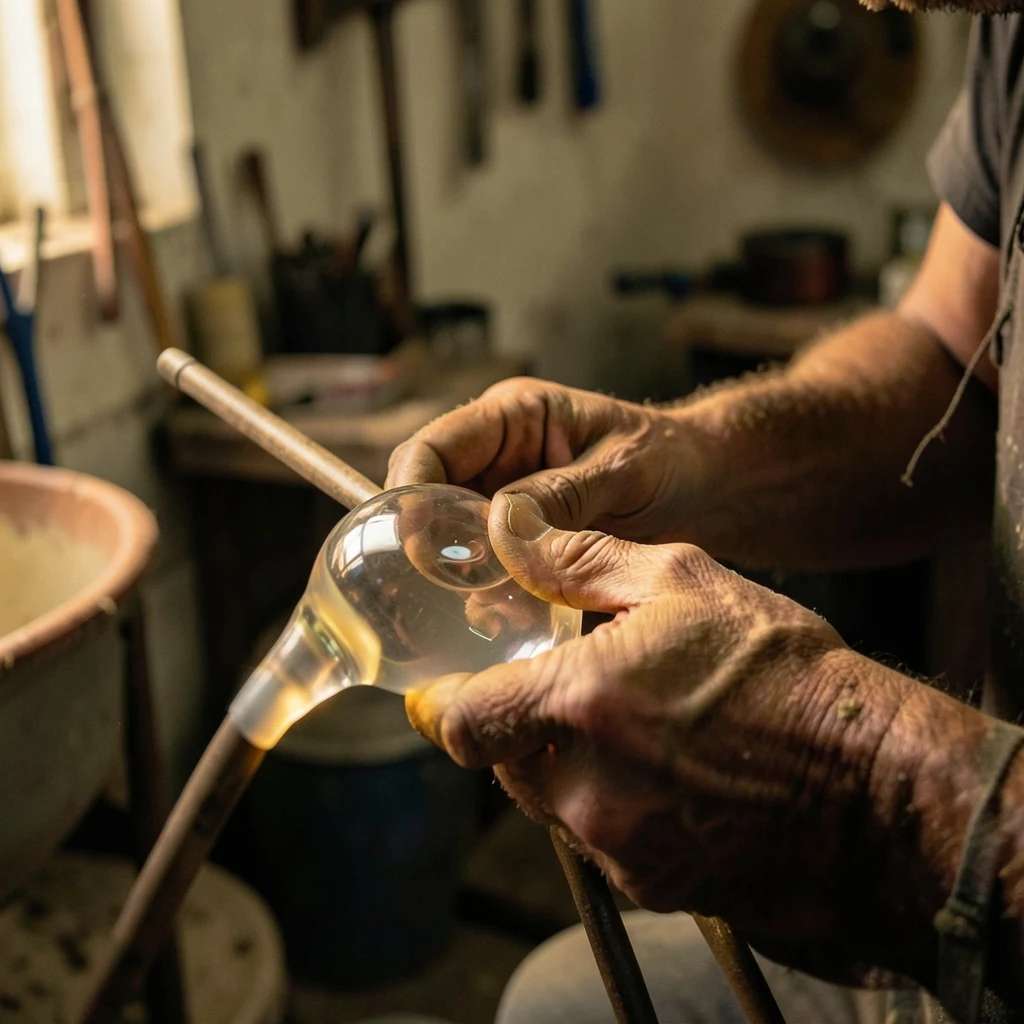
Worked example: a scene with physical contact
Start from a one-line brief, then develop it into a complete scene prompt. Notice how the built version fixes the viewpoint, the single moment, the contact between the hands and the subject, and the exclusions.
Complete designed artifacts and their content
When the image is a design rather than a scene, a dashboard, a poster, a diagram, or a card, give every requested region real content in reading order. “Some icons” or “a paragraph of copy” does not finish a design. Write the actual title, the real labels, and the literal copy.
- ▸Match data to the numbers: If you supply values, the chart marks and table rows have to match them exactly. Compute any total or result yourself rather than leaving the model to do arithmetic, and never swap a requested chart for decorative imagery.
- ▸Include only functional detail: Add axis labels, units, legends, selected states, or part labels where they explain the artifact. Respect a minimal design instead of filling a checklist.
- ▸Do not fabricate real facts: Invent content freely for a fictional design, but do not present made-up statistics, prices, or certifications as if they were verified. Known ranges can be shown without inventing exact figures.
Worked example: a finished data card
Here the brief supplies exact numbers, so the prompt names the literal title, the axis labels, and every value, and explicitly forbids invented data.
How do you get text to render correctly?
Literal lettering is where image models slip most, so treat it as exact copy. Put the wording on the surface it belongs to, and keep its language, capitalization, punctuation, numbers, spelling, and line order unless you are deliberately changing them.
- ▸Quote the literal text: Enclose any text that should appear in single or double quotes so the model treats it as copy to render, not a theme to interpret.
- ▸Write the full wording: Supply the complete line, including a headline split across two lines in the order you want. Do not leave the model to guess the rest.
- ▸Respect a no-text rule: If the brief forbids text, say so plainly, and do not let a label or sign creep back in.
How do you edit with reference images?
Editing and reference-guided composition use a different structure. You are no longer describing a blank scene; you are telling the model which supplied image provides which content, and then what stays and what changes. Write one continuous paragraph in this order: define the sources, give the target overview and each relationship, then describe the changed or new detail. Narrate the final state, for example “the former sign is now blank wall,” rather than issuing an edit command.
Give each part you care about a stable name, a Subject, and assign every Subject its own relationship. These are the four relationships to lean on:
| Relationship | What it means |
|---|---|
| Fully preserved | The entire element keeps its count, position, state, and appearance. Moving, rotating, relighting, or occluding it counts as a change, not full preservation. |
| Partially preserved | Some categories stay and others change. Name both, for example shape and material stay while the color changes. |
| Attribute transfer | One property, such as an exact color, moves from a donor onto a target, without importing the donor’s other features. |
| Weak reference | A loose quality, such as a style or mood, is borrowed and may be freely adapted. |
A short local edit needs only a short paragraph. The example below recolors one object and leaves everything else untouched.
Text to image vs reference edit: which structure?
The two modes share the same discipline but organize the prompt differently. Pick the structure that matches what you are starting from.
| Aspect | Text to image | Reference edit |
|---|---|---|
| Starts from | A written brief only | One or more supplied images |
| You describe | The whole scene from scratch | The sources, then what stays and what changes |
| Prompt shape | Organized naturally by the scene | One paragraph: sources, relationships, changes |
| Main risk | Vague, generic description | Editing something that should have stayed fixed |
Suggested Read: GPT Image 2.5 Prompt Guide
Common H3 Image prompt mistakes to avoid
Most weak results trace back to a handful of habits. Avoid these and your hit rate climbs.
- ▸Generic quality words: “High quality, 8k, masterpiece” describe nothing visible. Describe the actual subject, light, and materials instead.
- ▸Inventing real data: Do not present made-up statistics, prices, or specifications as real. Use supplied or clearly fictional values.
- ▸Extra subjects and scenery: Adding people or props to fill a shape pulls focus from the real subject. Keep the composition you actually need.
- ▸Instructions instead of content: Write what appears in the image, not notes to another writer or a list of possible approaches.
- ▸Flipping a layout to suit a pose: Keep the requested left and right and the contact points; do not mirror the scene to make a pose easier.
- ▸Letting text drift: Keep literal lettering’s language, capitalization, and line order, and do not add text when the brief forbids it.
Suggested Read: 35+ Prompts to Create Amazing Images using AI
Your H3 Image prompt checklist
Before you generate, read the prompt back against the brief. Each requested region should contain something you can inspect.
Suggested Read: Best MiniMax H3 Fine-Tuned Models
How do you run MiniMax H3 Image on Pixazo?
You do not need a separate account or a local setup. MiniMax H3 Image runs on Pixazo through the API, and it exposes both of the modes this guide covers: a text-to-image endpoint for composing a scene from a prompt, and an image-edit endpoint for reference-guided changes. There is also a faster Highspeed variant for quicker iterations. The landing page lists the models, pricing and ready-to-copy request code.
The craft here is also model-agnostic, so the same discipline, writing what appears instead of instructions, setting the composition from the content, keeping text and data exact, and describing edits as a final state, carries over to the other image models Pixazo runs. Learn it once on H3 Image and it transfers wherever you generate.
Suggested Read: Best AI Image Generation Models Compared
Suggested Read: Negative Prompts: What They Are and How to Use Them
How do you write an H3 Image prompt that renders exactly?
Develop the brief into concrete visible content, set the composition from the deliverable rather than a style word, and keep the scene physically readable with a clear viewpoint and consistent contact. For designs, give every region real content and match data to the numbers. For edits, define each source as a Subject, state what is fully or partially preserved, and write the change as a final state. Then read the prompt back against the brief, its exact copy, counts, spatial bindings, and exclusions, before you generate. Do that on MiniMax H3 Image, and the image you get back is the one you actually described.
Suggested Read: How AI Image Generation Models Are Ranked
Frequently asked questions
What is MiniMax H3 Image?
MiniMax H3 Image is a text-to-image model that generates a picture from a written description and can also edit or combine supplied reference images. It handles both composing a scene from scratch and reference-guided editing.
How do I write a good H3 Image prompt?
Describe what appears in the finished image rather than giving instructions. Pick a visual focus, set the composition from the content, add detail for a purpose, and keep any counts, text, and spatial relationships exact.
Should I use words like “high quality” or “8k” in a prompt?
They add little, because they do not describe anything visible. Concrete choices about subject, light, material, and composition do far more work than generic quality claims.
How do I get H3 Image to render text correctly?
Put the literal wording in quotes, write the full line including any line breaks you want, and keep its language, capitalization, and spelling. If the image should have no text, say so and do not let a label slip back in.
How do I edit an image with a reference?
Write one paragraph that first defines each source as a Subject, then states what each Subject does in the target, fully preserved, partially preserved, transferred, or weakly referenced, and finally describes the change as a final state rather than a command.
What does “fully preserved” mean in an edit prompt?
It means the entire element keeps its count, position, state, and appearance. If it moves, rotates, is relit, or is partly hidden, that is a change, so mark it partially preserved instead.
How do I set the aspect ratio?
Choose it from the deliverable and the main content, not from a style word. Keep any ratio the brief states, and when you need generation settings, give the aspect ratio separately from the description.
Can H3 Image make charts or dashboards with real numbers?
Yes, if you supply the numbers. Name the exact values, the axis labels, and the reading order in the prompt, compute any totals yourself, and tell the model not to invent extra data.
Will the model invent data if I leave it out?
It can, which is why you should supply the values you want or mark content as fictional. Do not present invented statistics, prices, or specifications as if they were verified facts.
How is text to image different from reference editing?
Text to image describes a whole scene from a written brief and is organized naturally by the scene. Reference editing starts from supplied images and uses one paragraph that defines sources, states relationships, and then describes changes.
Is MiniMax H3 Image available on Pixazo?
Yes. MiniMax H3 Image runs on Pixazo through the API, with both a text-to-image endpoint and an image-edit endpoint, plus a faster Highspeed variant. You can see the models, pricing and request code on its landing page.
Deepak Joshi
Author · Pixazo
Deepak writes about generative AI models, APIs, and the workflows teams use to ship them. Reviewed by Abhinav Girdhar.