How to Make a Menu Using AI (Step by Step)


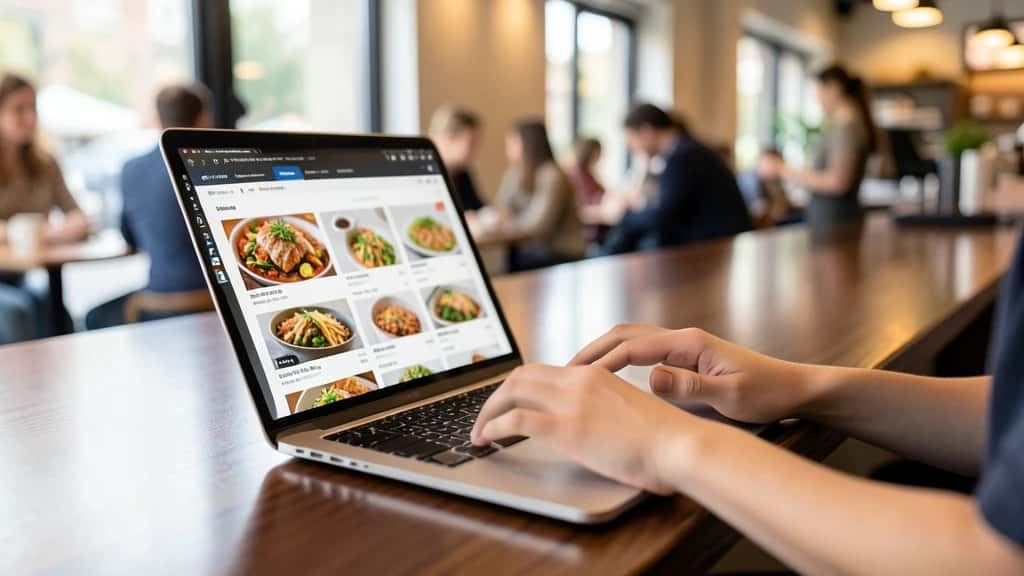
Making a menu used to mean fighting with design software or paying a designer. An AI menu maker changes that. It generates a structured layout with sections, type hierarchy and spacing already in place, so you edit real content instead of staring at a blank page. You keep full control of the wording, prices and branding, and the AI Menu Maker handles alignment, consistency and export. Here is how to make a menu using AI, step by step.
This guide works for a cafe, a bar or a full restaurant. It covers what to gather first, the seven-step build, how to write descriptions and set prices, and how to export for print and QR.
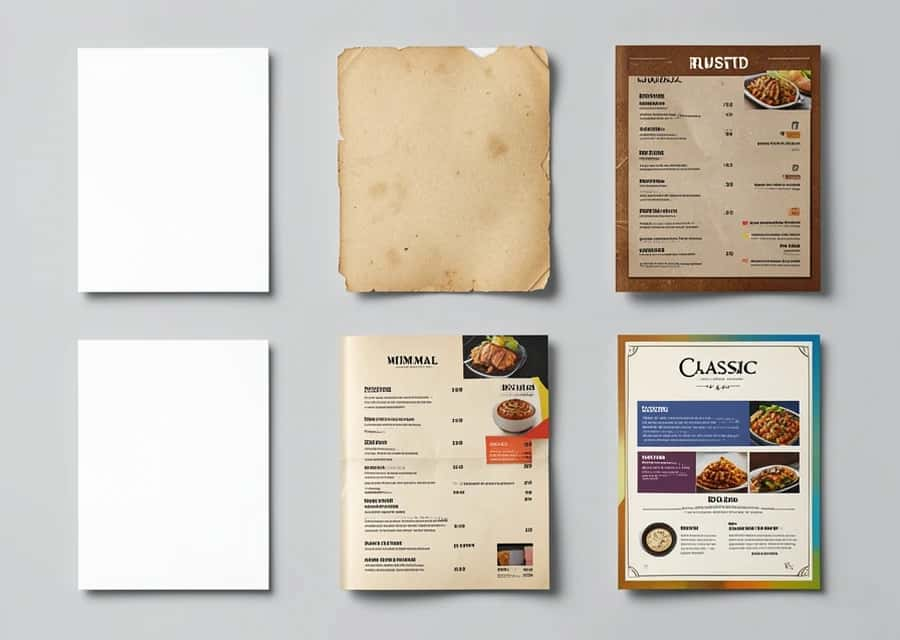
Why Use an AI Menu Maker Instead of Starting From Scratch?
- ▸No design skills needed: The AI sets up sections, hierarchy and spacing, so you are editing a real layout, not building one.
- ▸No designer budget required: Small venues get a professional-looking menu without hiring out the work.
- ▸You stay in control: The wording, prices and branding are yours. The tool handles alignment, consistency and export formatting.
- ▸Faster to update: Menus change with seasons, costs and new dishes, and a maker lets you edit and re-export in minutes.
What to Get Ready Before You Start
- ▸Your item list and prices: Every item with its current price, grouped roughly by course or drink type.
- ▸Your brand assets: Your logo as a PNG or SVG, brand fonts if you have them, and one or two brand colors.
- ▸Any required notices: Allergen or dietary labels you are legally required to show in your region.
- ▸Your final use: Print, digital, QR or all three, since this affects size and file format later.
Suggested Read: How to Make a Brochure
How to Make a Menu Using AI in 7 Steps
Suggested Read: 30 Menu Design Ideas for Cafes, Bars and Restaurants
Choosing the Right Menu Type for Your Venue
- ▸Dine-in menu: Usually the longest and most designed. Clear course sections, readable type, limited photos and enough white space to feel considered.
- ▸Takeaway menu: Compact and scannable for quick decisions, often with more items per page and a phone number or order link prominent at the top.
- ▸Drinks menu: A separate list for cocktails, wine, beer or coffee, grouped by type or base spirit with short descriptions on signatures.
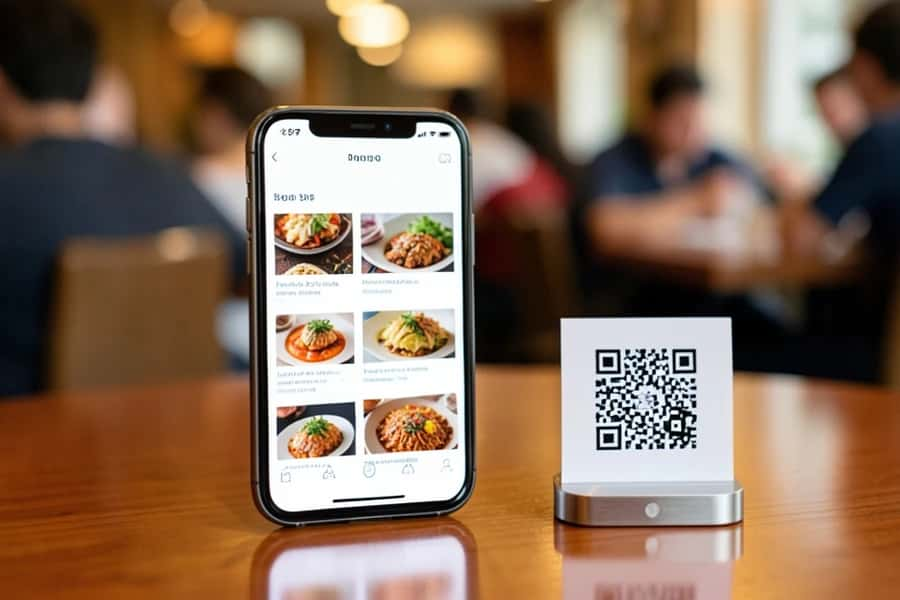
- ▸QR and digital menu: Designed for a phone first, single-column with large tap-friendly text and fast-loading images, easy to update when items change.
Suggested Read: 30 Restaurant Menu Design Ideas That Sell More
Writing Item Descriptions That Actually Sell
- ▸Lead with the hero ingredient or method: Open with what matters, not filler adjectives.
- ▸Keep it to one line where you can: Long paragraphs slow ordering and crowd the page.
- ▸Name provenance only when true: Wood-fired, locally sourced or house-made works when accurate, and should be dropped when it is not.
- ▸Use AI to draft, then edit: Let the tool suggest variations, then edit for your real ingredients and voice so nothing is invented.
Suggested Read: 15 Best Color Palette Generators for Designers
Pricing, Branding and Images Done Right
- ▸Place high-margin items where the eye lands: Often the top of a section or the top-right of the page.
- ▸Keep price formatting consistent: Same decimals and alignment throughout so the menu reads as deliberate.
- ▸Limit yourself to two fonts and one accent: One heading font, one body font, and a color pulled from your logo or interior.
- ▸Use real photos, sparingly: Photograph actual dishes where you can, keep them consistent, and avoid a photo on every item, which reads as fast food.
Suggested Read: How to Make a Coupon
Common Mistakes to Avoid
- ▸Letting AI invent dish details: Drafts are a starting point, not a source of truth. Edit every description against the real dish so you never list ingredients you do not use.
- ▸Overloading the menu with photos: A photo on every item crowds out the text and looks like a fast-food board. Reserve images for a few hero items.
- ▸Skipping the price and allergen proof: A wrong price costs money on every order and a missing allergen label can be a safety issue. Check both against your kitchen before you publish.
Conclusion
Making a menu using AI is mostly editing, not designing. Gather your items, prices and brand assets, start from a template, write honest descriptions, place your best items where the eye lands, then proof and export for both print and QR. Keep a saved version before each seasonal change and your menu stays easy to update all year.
FAQ
Can I make a restaurant menu using AI for free?
You can start building and designing a menu with the Pixazo AI Menu Maker at no cost, though some export or premium features may need a paid plan. Check the current plan details on the maker page before relying on a specific export.
What menu size should I use for printing?
Common choices are A4, US Letter or a folded format for dine-in, and a smaller compact size for takeaway. Ask your print shop what size and bleed they need, since requirements vary by printer.
What is bleed and do I need it?
Bleed is a small extra margin of background that extends past the trim line so there are no white edges after cutting. You usually need it when a background color or image runs to the edge of a printed menu.
Should my menu be CMYK or RGB?
Printed menus are typically produced in CMYK, while digital and QR menus display in RGB. Export a high-resolution PDF for print and confirm the color mode with your print shop, and use a web-friendly file for digital.
How do I make a QR code menu?
Export your finished menu as a web-friendly PDF or image, host it online, then generate a QR code that links to it. Print the QR code on table tents or at the counter so guests can scan and view the current menu.
How do I write good menu item descriptions?
Lead with the main ingredient or cooking method, keep it short, and only state what is true. Descriptions work best on signature and higher-margin items, while plain dishes often need just a name and price.
Can I use AI-generated images of my dishes on the menu?
It is better to use real photos of your actual dishes, because AI or stock images can misrepresent portion size and plating and may mislead customers. Reserve any generated imagery for decorative backgrounds, not the food itself.
Deepak Joshi
Author · Pixazo
Deepak writes about generative AI models, APIs, and the workflows teams use to ship them. Reviewed by Abhinav Girdhar.