How to Convert an Image to an AI Image (Step by Step)
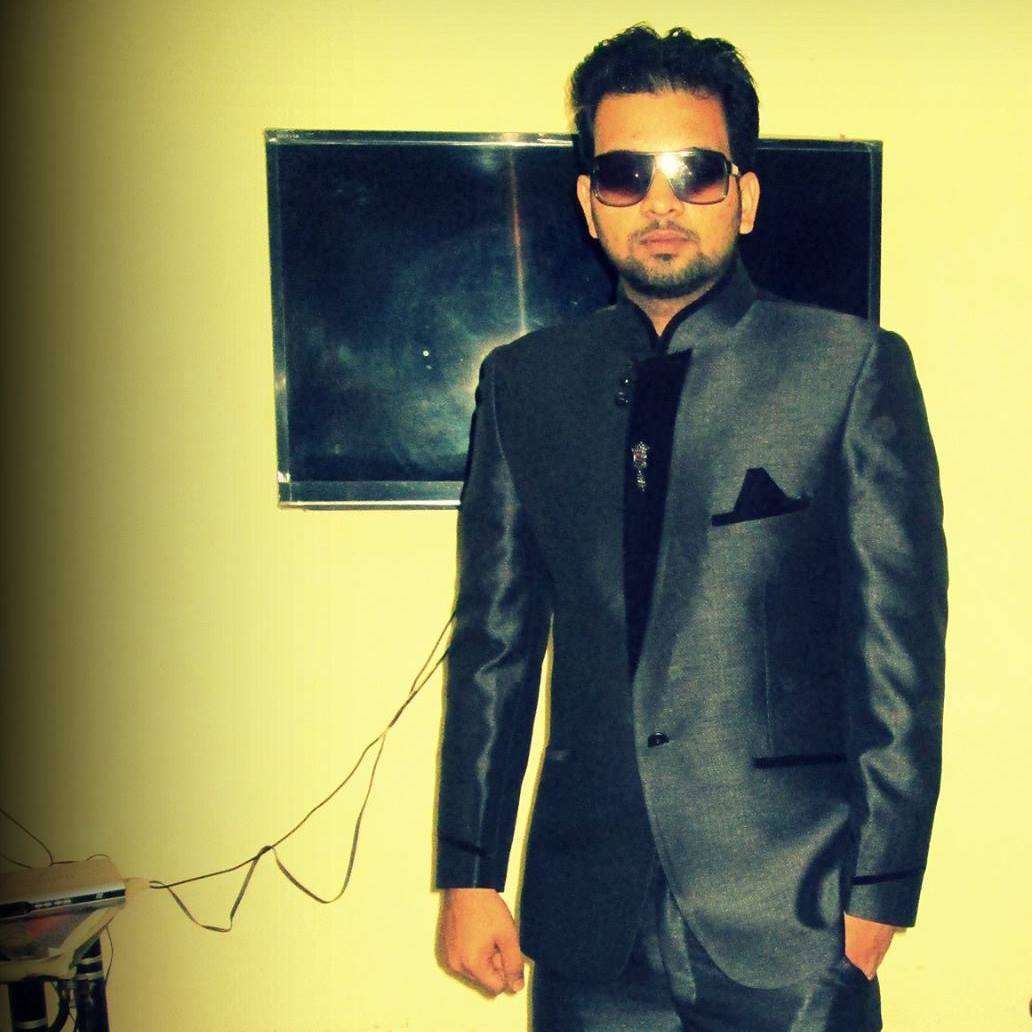
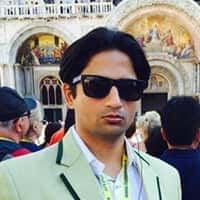
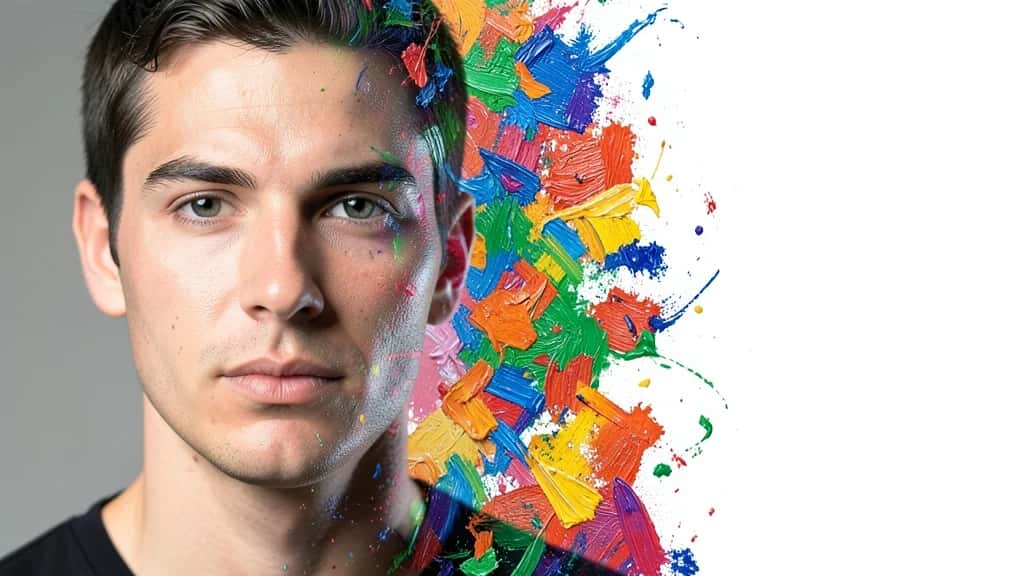
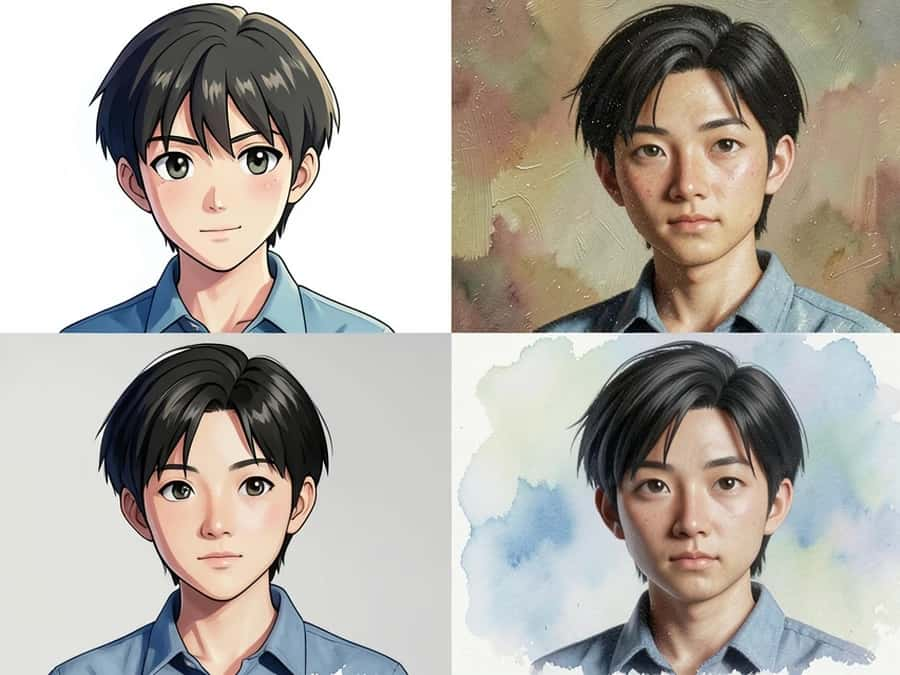
Converting an image to an AI image means handing the AI your photo as a reference and asking it to paint a fresh version in the style you describe. It is not a one-tap filter. It reads your picture, keeps the broad composition and pose, and reinterprets the textures, lighting and detail into a new look. You can do it in a few minutes with an AI Art Generator that takes both an uploaded image and a prompt.
This guide walks through what the conversion actually does, the exact steps, style ideas to try, and honest limits so you know what to expect before you start.
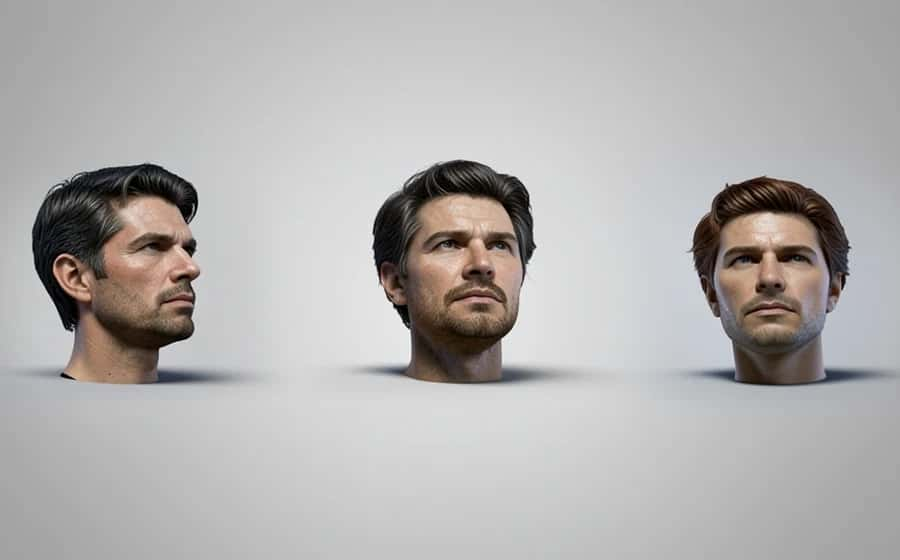
What Converting an Image to an AI Image Actually Means
- ▸It is image to image, not a filter: The AI reads your photo as a visual reference, then generates a new image guided by both the source and your text prompt.
- ▸You keep the big shapes: Broad composition, pose and color layout carry over, while textures, lighting and fine detail get reinterpreted into the style you ask for.
- ▸The output is a new image: It is inspired by yours, not a pixel-perfect edit of the original.
- ▸It differs from editing tools: Background removal, upscaling and face swap preserve the actual photo. Here the photo is a starting point the AI paints over.
What You Need Before You Start
- ▸A clear source image: Good lighting, a readable subject and minimal clutter give the model more to work with.
- ▸A target style in mind: Anime, oil painting, 3D render, cyberpunk, watercolor and so on.
- ▸A short prompt: One line describing the subject plus the style and mood.
- ▸A tool that takes an image and a prompt: This guide uses the Pixazo AI Art Generator, which accepts an uploaded image alongside your prompt.
Suggested Read: How to Convert a Photo to a Pencil Sketch
How to Convert an Image to an AI Image: Step by Step
Suggested Read: How to Turn a Photo Into Anime Art
Style Ideas to Try
- ▸Anime and manga, with cel shading and clean line art
- ▸Oil painting, with visible brush strokes and canvas texture
- ▸Watercolor, with soft edges and bleeding color
- ▸3D render, from Pixar-like to clay render to stylized realism
- ▸Cyberpunk and neon, with moody lighting and a synthwave palette
- ▸Pencil sketch and charcoal, monochrome with hatching
- ▸Pop art and comic, with bold outlines and halftone
- ▸Pixel art and retro, for a playful 8-bit feel
Suggested Read: How to Turn a Photo Into a Cartoon
How to Get Better Results With Prompts and Strength
- ▸Name the subject first: Then the style, then lighting and mood, so the model knows what to protect.
- ▸Use mid-range strength to keep likeness: Push higher only when you want a bigger stylistic leap away from the original.
- ▸Add concrete style anchors: Say oil painting, visible brush strokes, warm palette instead of vague words like nice or cool.
- ▸Generate several variations: AI output varies run to run, so make a few from the same photo and prompt, then pick the best.
- ▸Keep the source background simple: A clean background keeps the subject the focus of the conversion.
Suggested Read: Negative Prompts: What They Are and How to Use Them
Honest Limitations You Should Expect
- ▸Identity drift: At higher strength the AI changes faces, so a stylized version may not look exactly like the person. Keep strength modest for strong resemblance.
- ▸Hands and small details: Fingers, teeth and small objects can distort or merge.
- ▸Text gets garbled: Signs, logos and labels often come out invented or unreadable, so do not rely on readable text in the image.
- ▸Brand elements shift: Fine details and exact logos are reinterpreted, not copied, so precise patterns may change.
- ▸Style is interpretive: The result reflects a style, it does not reproduce a specific artist exact work.
Suggested Read: How to Make AI Photos Look Real
Where Converting Images to AI Is Useful
- ▸Profile pictures and avatars in a chosen art style
- ▸Concept art, mood boards and visual exploration from a reference photo
- ▸Social posts, thumbnails and personal projects where a stylized look fits
- ▸Quick experiments to see a photo as a painting, a 3D render or anime
Conclusion
Converting an image to an AI image comes down to six moves: upload, prompt, set the strength, choose a style, generate and iterate. Remember that it reinterprets rather than perfectly preserves, keep your strength modest when likeness matters, and write a specific prompt. Once that clicks, one photo can become a dozen different looks.
FAQ
Can I turn my photo into an AI image for free?
Many tools, including Pixazo, let you try image-to-image generation, often with free credits or a free tier. Check the current limits before a large batch.
Will the AI keep my face exactly the same?
Not exactly. At lower strength it stays closer to your likeness, but higher strength reinterprets faces, so expect some drift. For strong resemblance, keep strength modest.
What is the strength or denoising setting?
It controls how much the AI changes your original. Low means subtle and closer to the photo, high means a bigger transformation further from the source.
Why does the text in my converted image look wrong?
Image generators do not reliably reproduce text and often invent or garble letters. Avoid converting images where readable text matters, or add it back afterward with an editor.
What image gives the best result?
A clear, well-lit photo with an uncluttered background and a readable subject. The more the AI can see, the better it can restyle it.
Is this the same as applying a filter?
No. A filter overlays effects on your exact pixels. Image to image generates a brand new image guided by your photo plus a prompt, so the output is a reinterpretation.
Can I use the AI image commercially?
Usage rights depend on the tool terms and your plan. Review the platform license terms before using an output commercially.
Deepak Joshi
Author · Pixazo
Deepak writes about generative AI models, APIs, and the workflows teams use to ship them. Reviewed by Abhinav Girdhar.