How to Upscale an Image Without Losing Quality (Up to 4K)
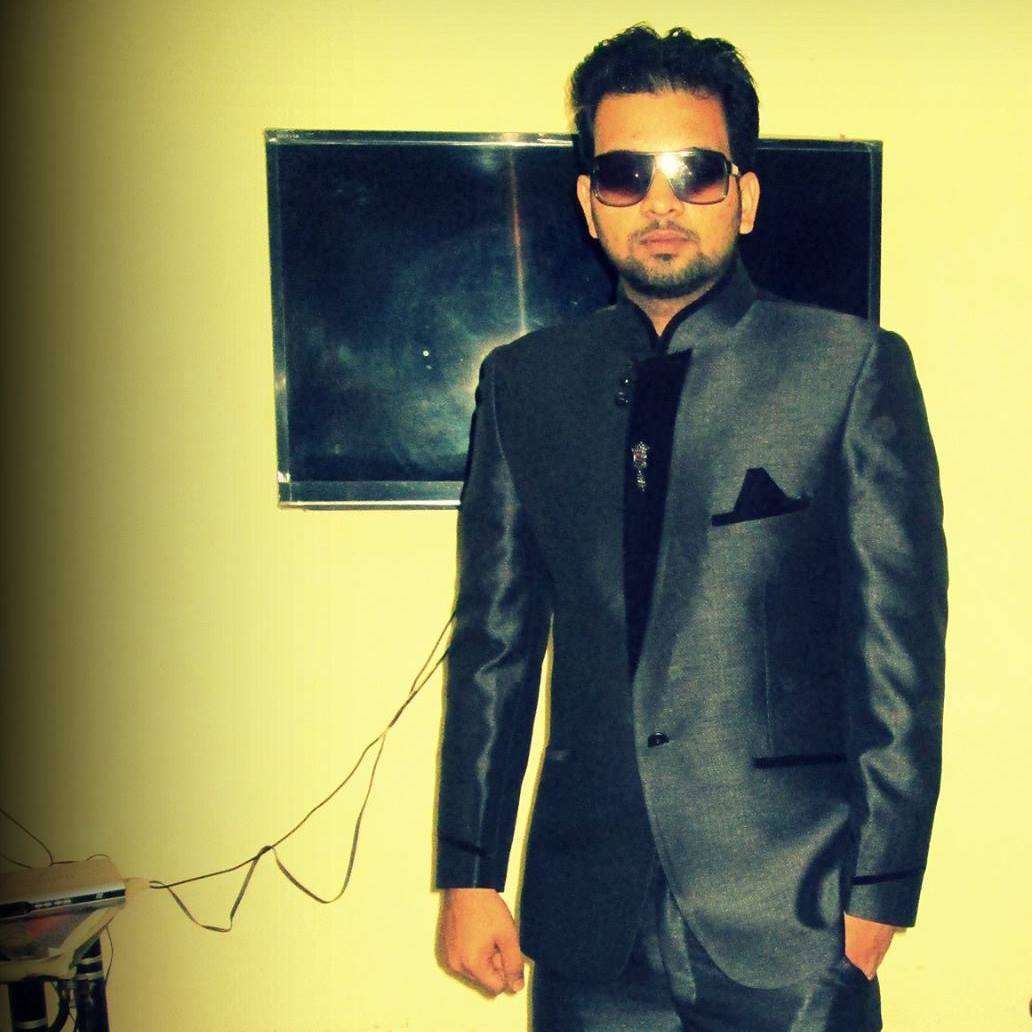

Here is the honest answer: you cannot literally add back detail a camera never captured. What a modern AI upscaler does instead is reconstruct plausible edges and textures, so an enlarged image looks sharp and clean rather than blurry and blocky. The result feels lossless even though the lost information is not truly recovered. This guide shows how that works and how to do it right, and you can try it on one photo with a free AI Image Upscaler.
Below: resizing versus upscaling, why images pixelate, how AI super-resolution actually works, a step-by-step, how far you can push it, the scale-factor and print-DPI math, file formats, a tool comparison, and the mistakes that ruin a result.
Resizing vs upscaling: what is the difference?
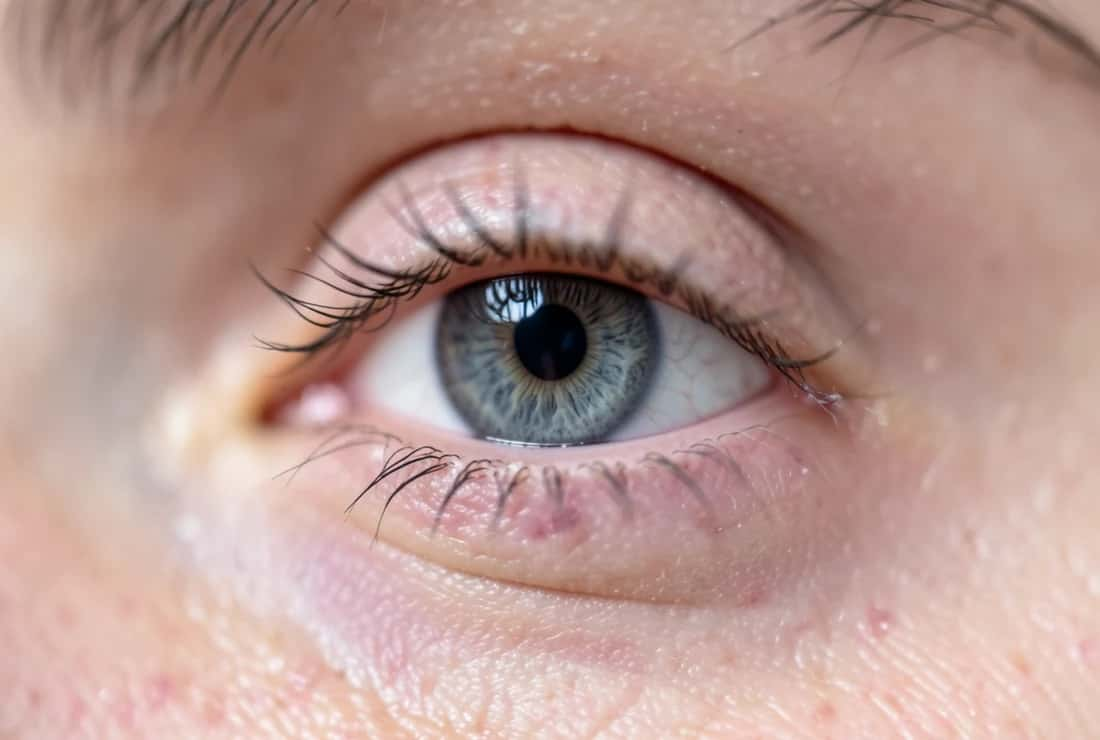
A plain resize stretches or duplicates the pixels you already have, which is why enlarged photos look blurry or jagged. AI upscaling predicts new, plausible detail to fill the larger canvas, so edges stay crisp and textures stay believable. That single difference, stretching pixels versus reconstructing detail, is the whole reason one looks soft and the other looks sharp.
Why do images get blurry or pixelated when enlarged?
Photos are raster images: a fixed grid of pixels. Enlarge the grid and each pixel has to cover more area, so edges soften and blocky stair-stepping appears. Vector formats like SVG or EPS scale cleanly at any size, but they only suit logos, icons, and flat line art, not photographs. For a real photo, reconstruction is the only way to scale up and stay sharp.
How does AI upscaling work without losing quality?
AI upscalers use super-resolution models trained on millions of paired low-resolution and high-resolution images. From those pairs the model learns what sharp edges, skin, fabric, foliage, and other textures should look like, so when you feed it a small image it rebuilds the missing detail instead of interpolating a blur. This is often called single-image super-resolution, and it is why a good AI result looks far cleaner than any classic resize. Pixazo’s AI Image Upscaler works this way: it analyses edges and textures and reconstructs them, aiming for clarity without a plastic, over-smoothed look.
How to upscale an image without losing quality, step by step
The browser flow takes seconds. Here it is on the AI Image Upscaler.
Drag and drop or browse to your file. The upscaler takes JPG or PNG up to 5MB. Start from the largest, cleanest original you have, not a screenshot or a re-saved social download.
Choose how far to push it, up to 4K / Ultra HD. Match the output to where the image will live: web and social need less, a 4K display or a print needs more.
The model rebuilds edges and textures as it enlarges, keeping clean lines and natural texture instead of stretching pixels into a blur.
Drag the slider to inspect the result against the original. Zoom in on faces, eyes, text, and edges to confirm the detail looks natural, not invented.
Save the high-resolution result. For the sharpest keep, export a lossless or high-quality format rather than a fresh low-quality JPEG.
Suggested Read: How to Restore Old Photos With AI
Interpolation methods, explained simply
Before AI, upscaling relied on interpolation: math that guesses in-between pixels. It is still inside editors, so it helps to know the trade-offs. None of these add real new detail, they only smooth the guesswork.
| Method | What it does | Trade-off |
|---|---|---|
| Nearest-neighbor | Copies the closest pixel | Fast but blocky and jagged |
| Bilinear | Averages nearby pixels | Smoother, but soft and blurry |
| Bicubic | Weighted average of more pixels | Balanced, the common default, adds no new detail |
| Lanczos | Sharper sampling filter | Crisper, with a slight ringing or halo risk |
How far can you upscale? The 2x to 4x rule and the math
A safe ceiling for most images is 2x to 4x. Push much beyond that and the model has to invent more than it can support, so faces, eyes, teeth, small text, and fine textures start to look wrong. To find your scale factor, divide the target width by the source width.
- The formula: target width divided by source width equals your scale factor.
- 4K example: 4K UHD is 3840 by 2160, so 3840 divided by your source width is the factor; a 1920px wide image to 3840px is exactly 2x.
- Rule of thumb: stay at or under 4x for photos; reserve bigger jumps for clean graphics, not detailed photographs.
Single pass or staged: which is better?
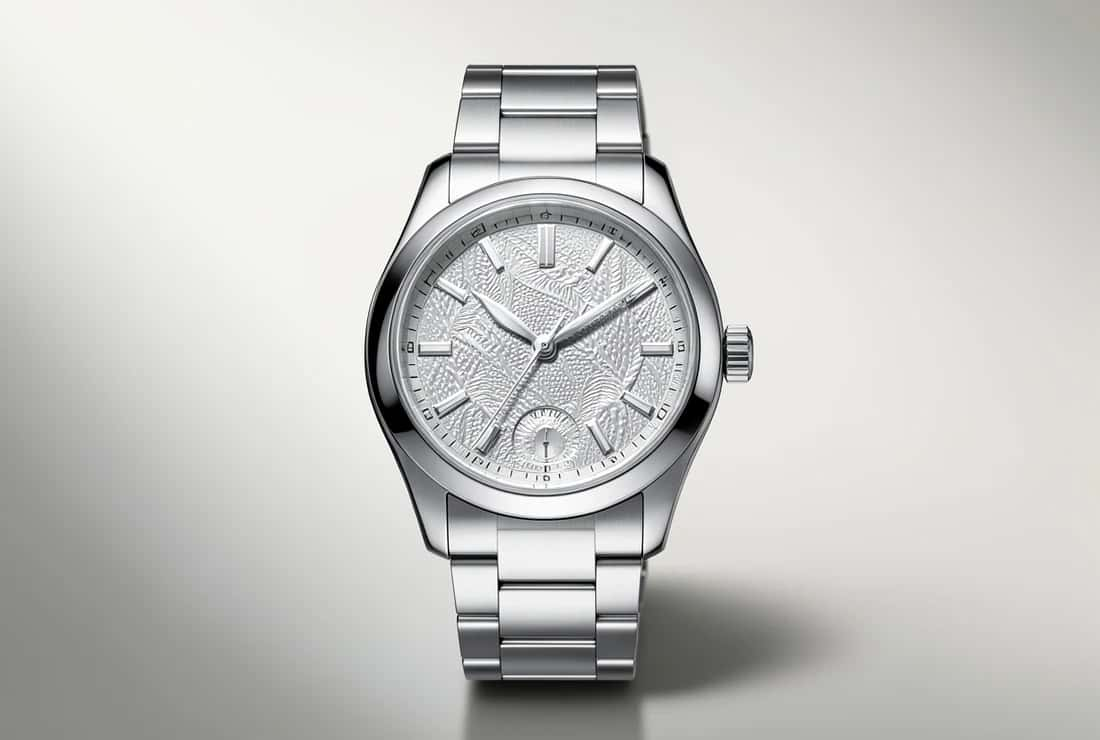
Run one pass to your target (up to about 4x) rather than stacking two or more passes. Each pass reconstructs detail on top of the previous reconstruction, so artifacts and invented detail compound. The only real exception is an extreme print blow-up that exceeds a single tool’s ceiling, where a careful staged approach can help. For everyday web, social, and print work, a single pass wins.
What AI upscaling works well on, and what it struggles with
- ▪ Clean, well-lit photographs
- ▪ Faces and portraits
- ▪ Product and e-commerce shots
- ▪ Natural textures: skin, fabric, foliage
- ▪ Slightly soft or low-resolution originals
- ▪ Tiny text and detailed logos
- ▪ Heavy motion blur or out-of-focus shots
- ▪ Extreme JPEG compression artifacts
- ▪ Very low source resolution
- ▪ Fine line art fed to a photo model
Suggested Read: How to Turn a Photo Into a Cartoon
Start from the best source, and save the right format
Quality in, quality out. Feed the upscaler the largest, cleanest original you have. A screenshot, a re-saved JPEG, or a social-media download has already thrown away data, and no tool can rebuild what multiple lossy saves erased. When you are done, save a lossless or high-quality format such as PNG, TIFF, or high-quality WebP, not a fresh low-quality JPEG that re-adds compression. Just know a 4K lossless file is large, so weigh that against your storage and upload limits.
Order of operations: clean, upscale, then sharpen
Sequence matters. Do heavy work in the right order or you bake flaws into the result.
- Clean first. reduce noise and remove obvious artifacts on the source before you enlarge.
- Upscale second. let the AI reconstruct detail at your target scale in a single pass.
- Sharpen last, and gently. add a touch of sharpening only if needed; over-sharpening creates halos and a plasticky look.
Match the model to the content type
Using the wrong model is a common reason an upscale looks worse. Photo-trained models suit photographs and portraits; dedicated illustration models suit anime and line art; and a face-restoration pass helps portraits specifically. Feed line art to a photo model and the edges smear; feed a photo to a line-art model and textures go flat. Route by content type.
What can you use an AI image upscaler for?
Upscaling is not just for one job. These are the everyday cases where reconstructing detail pays off.
- Restore and enlarge old photos: bring faded, low-resolution family scans up to a size you can frame or print.
- Sharpen e-commerce product shots: make listing and zoom images crisp so products look trustworthy on high-resolution screens.
- Rescue low-res thumbnails and avatars: clean up small profile pictures, logos-as-raster, and thumbnails that look soft when enlarged.
- Prepare images for print or 4K displays: hit the pixel dimensions a poster, frame, or Ultra HD screen needs without visible softness.
- Clean up screenshots for documents: sharpen captured UI or slides so they stay legible when scaled into a report or deck.
- Enlarge AI-generated art: take a small generation up to a usable, high-resolution size while keeping texture believable.
Suggested Read: Wallpaper Ideas and High-Resolution Backgrounds
Will upscaling improve a photo for printing?
For print, what matters is pixel dimensions at your physical size. The target is roughly 300 pixels per inch (PPI), so multiply the print size in inches by 300 to get the pixels you need. DPI by itself is a print setting, not image quality, so the real question is whether you have enough pixels.
| Print size | At 300 PPI you need | Common use |
|---|---|---|
| 4 x 6 in | 1200 x 1800 px | Standard photo print |
| 8 x 10 in | 2400 x 3000 px | Framed print |
| 11 x 14 in | 3300 x 4200 px | Poster-ish wall print |
| A4 (8.3 x 11.7 in) | 2490 x 3510 px | Document or flyer |
AI image upscalers compared
Several tools upscale images well. Here is where each fits (features change, so confirm current details before committing).
| Tool | Type | Best for | Privacy note |
|---|---|---|---|
| Photoshop + Lightroom | Desktop software | Editors already in Adobe, fixed 2x Super Resolution | Local files, subscription |
| Pixazo AI Image Upscaler | Browser, no install | Fast photo and product upscales up to 4K | Online upload, read the terms |
| Topaz Gigapixel AI | Paid desktop | Large, high-control blow-ups | Offline, one-time cost |
| Upscayl | Free, open-source desktop | Private, offline batch upscaling | Fully local |
If you want a quick, no-install option, the AI Image Upscaler runs in the browser with a before and after slider. For highly sensitive images, an offline desktop tool keeps everything local.
Is it safe to upload photos to an online upscaler?
It depends on the tool’s data handling, so read the terms before you upload personal, family, medical, or confidential images. For sensitive material, prefer a tool whose privacy terms you trust, or use an offline desktop upscaler so nothing leaves your machine. For everyday photos and marketing assets, a reputable browser tool is fine and far faster.
Suggested Read: 12 Graphic Design Trends Defining 2027
If you are already in Adobe, you have a few options, though availability varies by version. In Photoshop, open Image Size and turn on Resample with Preserve Details 2.0 for a cleaner enlargement. Super Resolution lives in Camera Raw and Lightroom and doubles resolution in a fixed 2x step. Newer Photoshop versions also add generative and AI upscale features, so check what your version includes. For a quick result without the desktop setup, a browser upscaler is simpler.
Suggested Read: 10 Best AI Painting Generators by Art Style
How do you enlarge a photo and keep it sharp?
Start from the best original you have, then upscale with an AI tool that reconstructs detail rather than stretching pixels. Keep it to a single pass at 2x to 4x, clean before you enlarge and sharpen only gently afterward, match the model to the content, and save a lossless or high-quality format. Check the result at 100 percent, not on a smaller screen, and for print aim for the pixels that 300 PPI at your size demands. Do that and an enlargement will look crisp and natural. Try it on one photo with a free AI Image Upscaler and compare the before and after yourself.
Suggested Read: Facebook Image Sizes: Cover, Profile and Ads
Frequently asked questions
Can you upscale an image without losing quality?
You cannot literally recover detail the camera never captured, but an AI upscaler reconstructs plausible edges and textures instead of stretching pixels, so the enlargement looks sharp and lossless. In practice the result is clean and natural, which is what matters for screen and print.
What is the difference between resizing and upscaling an image?
Resizing stretches or duplicates the pixels you already have, which blurs the image. AI upscaling predicts new, plausible detail to fill the larger size, so edges and textures stay crisp. One softens the image, the other rebuilds it.
How much can you upscale an image before it looks bad?
Stay within 2x to 4x for photographs. Beyond about 4x the model invents more than it can support, and errors show up first on faces, eyes, teeth, small text, and fine textures.
Does AI upscaling add fake or inaccurate detail?
It adds plausible detail based on what it learned from similar images, so results look natural but are reconstructed, not recovered. On clean photos this is accurate enough to be invisible; on tiny text or logos it can guess wrong, so inspect those areas.
How do I upscale an image to 4K?
Upload your image, set the output to 4K or Ultra HD, and let the AI reconstruct detail as it enlarges. 4K UHD is 3840 by 2160, so a 1920px wide source is a 2x jump, which is well within the safe range.
What is the best file format to save an upscaled image?
Save a lossless or high-quality format such as PNG, TIFF, or high-quality WebP. Avoid exporting a fresh low-quality JPEG, which re-adds compression artifacts. Note that a 4K lossless file is large.
Can you upscale a screenshot or a compressed JPEG?
You can, but results are limited because those sources have already discarded data. Start from the largest, cleanest original whenever possible; a heavily compressed or downscaled source stays rough no matter the tool.
Will upscaling improve a photo for printing?
Yes, if it gives you the pixels your print size needs. Aim for about 300 pixels per inch: multiply the print size in inches by 300. An 8 by 10 inch print, for example, wants roughly 2400 by 3000 pixels.
Is it better to upscale in one pass or several steps?
One pass to your target is better for almost everything, because stacking passes compounds artifacts and invented detail. Only consider a staged approach for extreme print blow-ups that exceed a single tool’s ceiling.
Can AI upscaling fix a blurry or out-of-focus photo?
Only partly. It sharpens edges and rebuilds texture, but it cannot recover a subject the lens never resolved. Motion blur and strong out-of-focus areas stay soft, so set expectations accordingly.
Is it safe to upload my photos to an online image upscaler?
It depends on the tool’s data terms, so read them before uploading sensitive images. For confidential or personal photos, use a tool you trust or an offline desktop upscaler that keeps everything local.
How do I upscale an anime image or illustration?
Use a model built for illustration or line art rather than a photo-trained model. A photo model tends to smear clean lines, while a dedicated illustration model keeps edges crisp and colours flat.
Deepak Joshi
Author · Pixazo
Deepak writes about generative AI models, APIs, and the workflows teams use to ship them. Reviewed by Abhinav Girdhar.